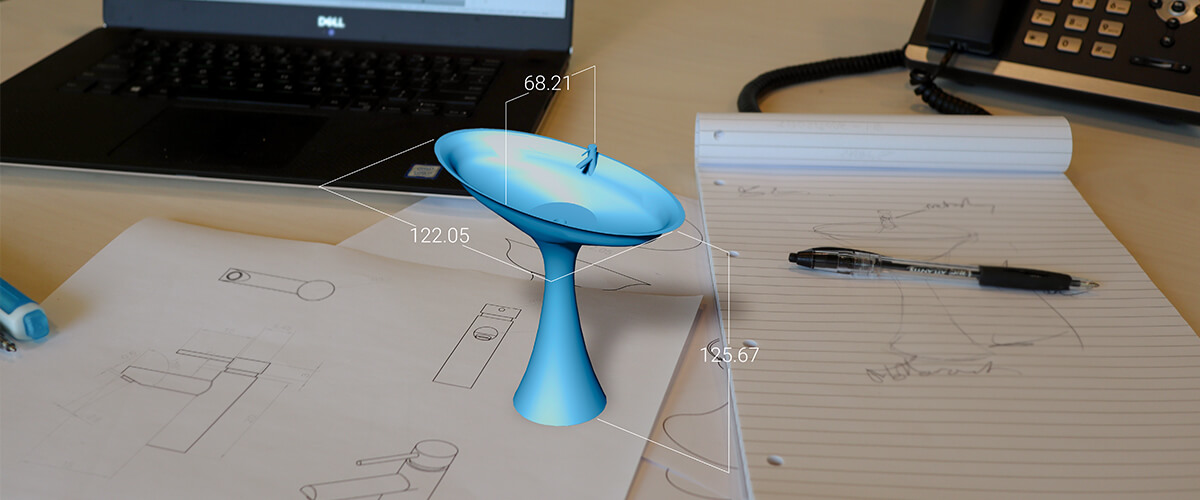
Last week I showed you how to make a shower cubicle in BricsCAD. In this tutorial, I will be showing you how I created a CAD sink. We will be reinforcing some of the commands you've already learned and adding a few more.
Commands covered this week
The Sink
I began by revolving a closed polyline to create the sink base and shelled. I then lofted to create the bowl and shelled again. To finish I extruded two holes for the faucet and the drain.

2D plan views of the model
To do this:
- Start by drawing out your sink shape in polylines. Use the POLYLINE and ELLIPSE commands to create the shapes.
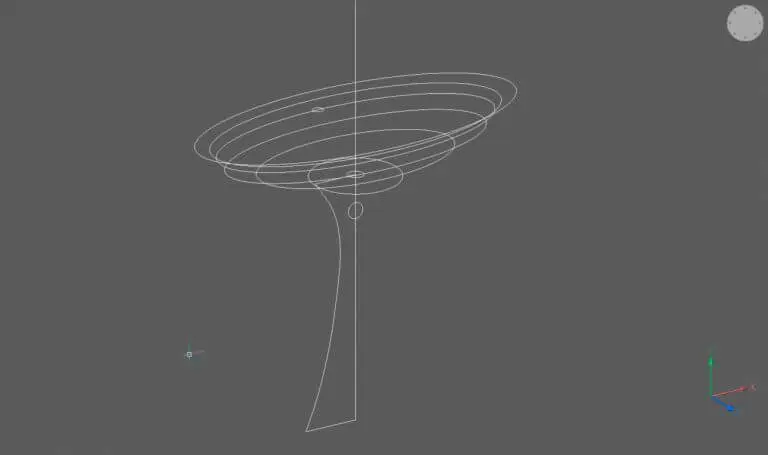
- REVOLVE the base.
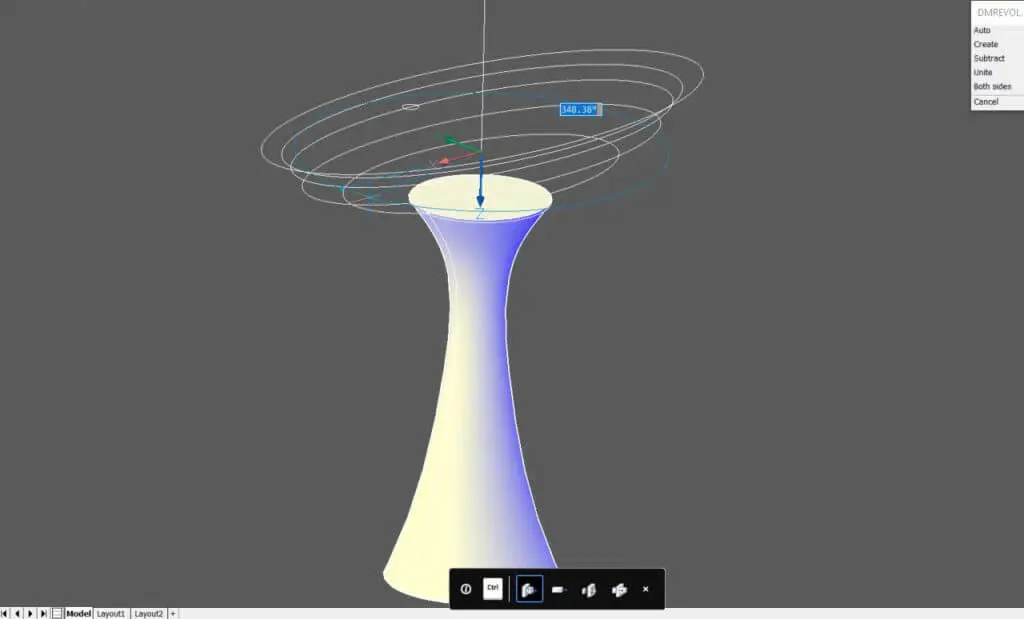
- SOLIDEDIT -- Body -- Shell. Select the top and bottom surfaces for removal. The distance is 0.5.
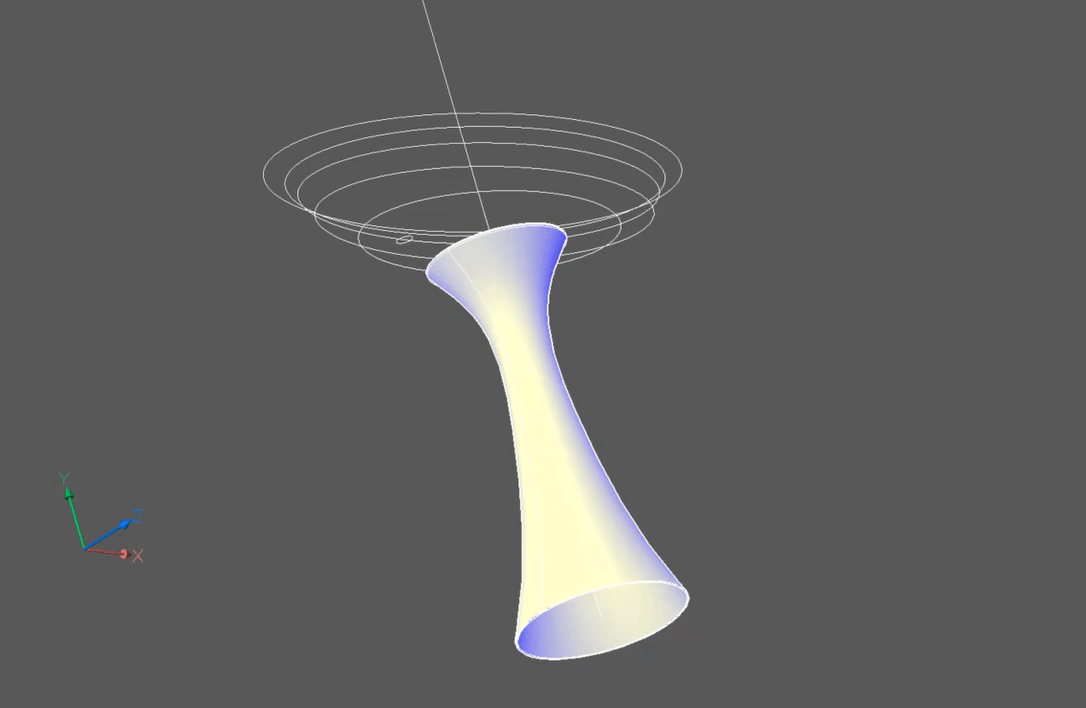
- Use LOFT. Select the closed polylines to create the bowl shape. Select the lowest ellipse first and the topmost ellipse last.
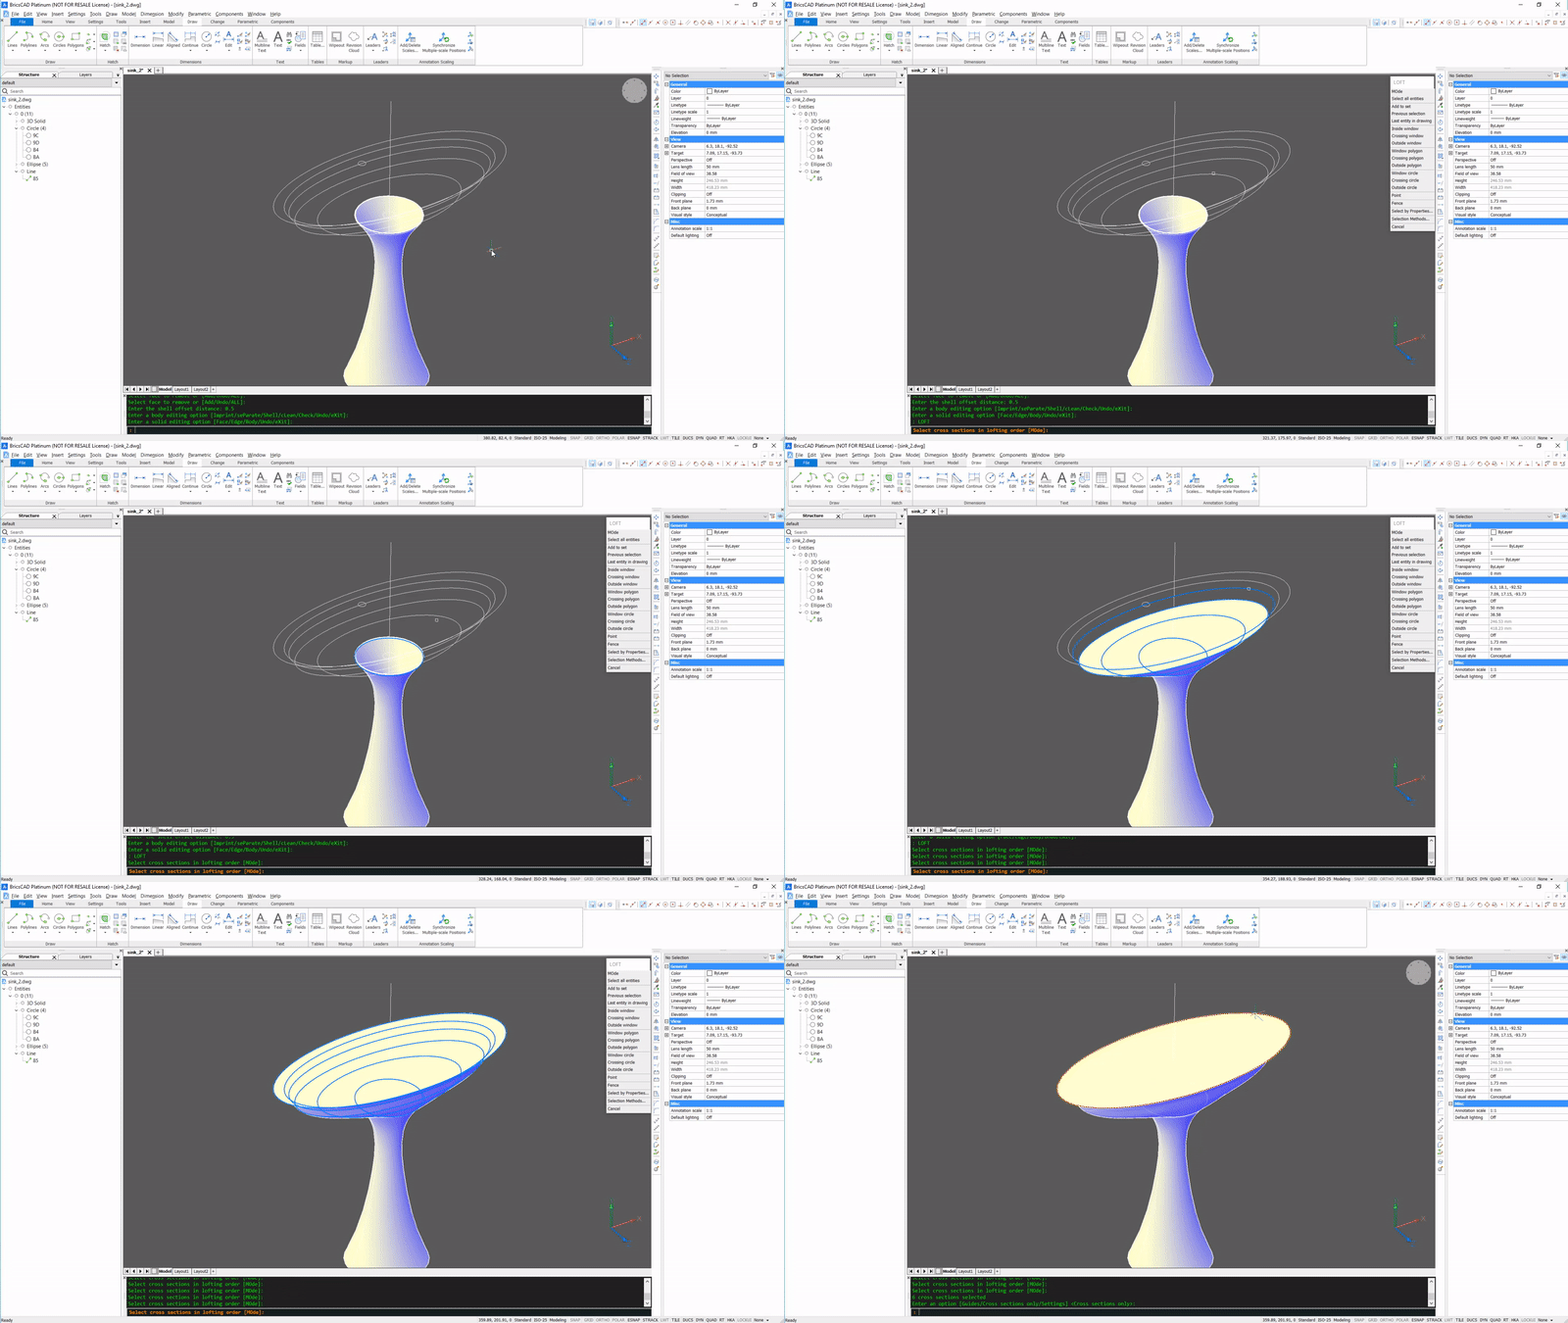
- SOLIDEDIT -- Body -- Shell. Select the top surface of the bowl. The distance is 1.
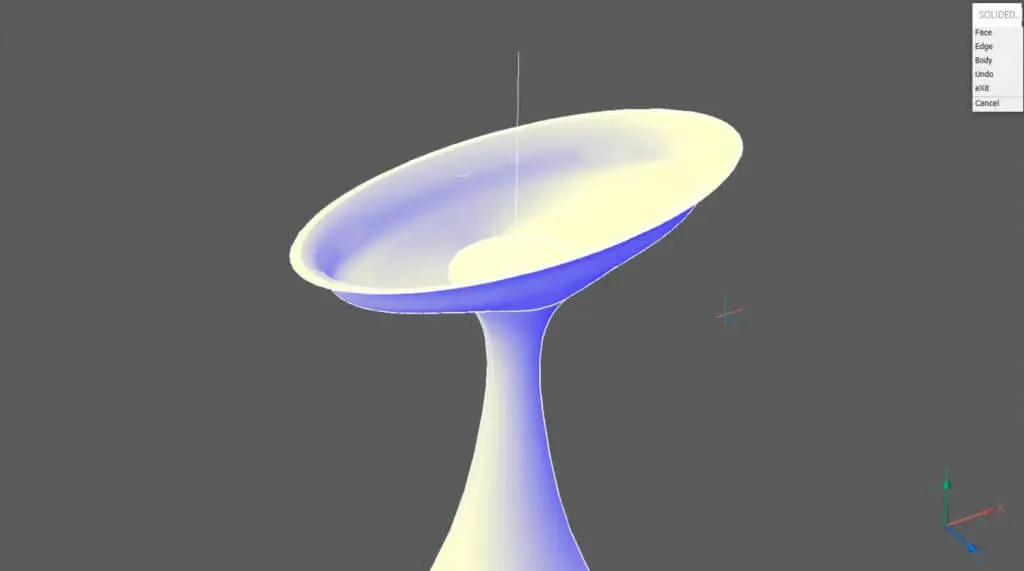
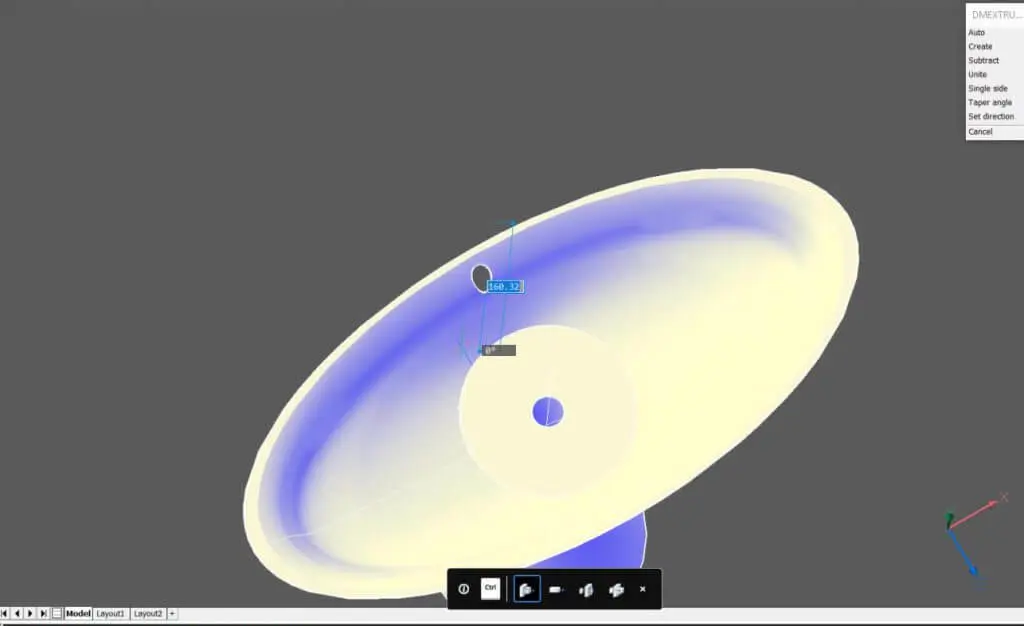
- Extrude a circle through the center of the bowl to create a plug hole. Use the Subtract mode.
- Extrude the faucet hole. Use the Both sides mode.
The Faucet
Next created the faucet. I extruded 3 cylinders to specified dimensions, then extruded 2 more at 90°. Finally, I shaved off the excess material and added an exit for the water.

To do this:
- Create a new layer. Use this as the drawing layer.

- Extrude the circles to the correct height.
Or, use the CYLINDER command.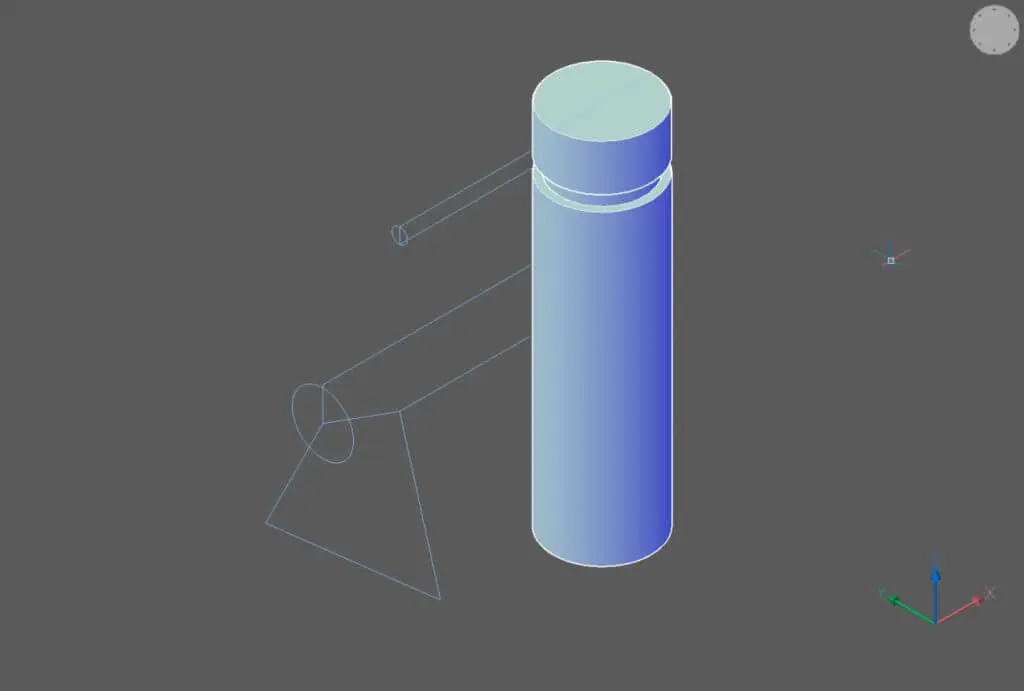
- At 90 degrees extrude two cylinders to create the handle and the spout.
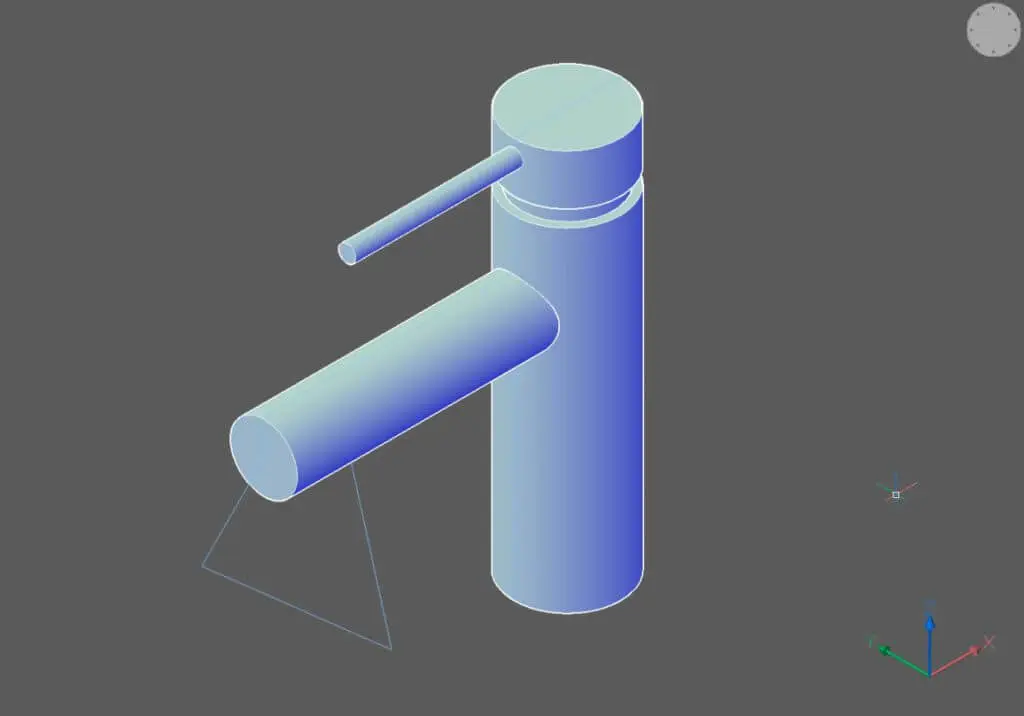
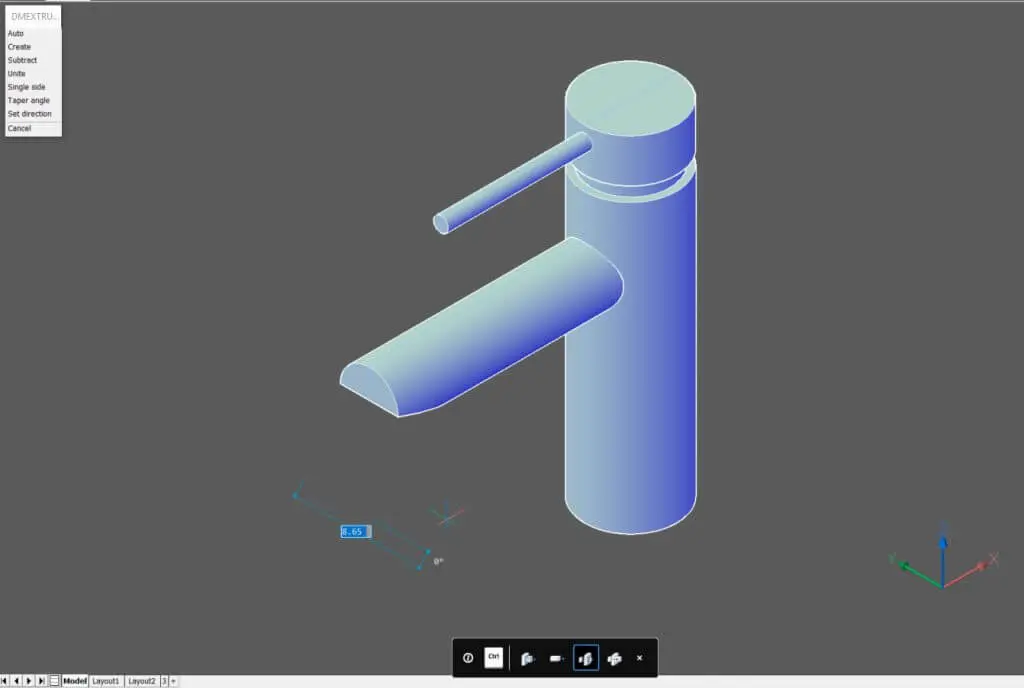
- Use Extrude-Both sides -- Subtract to remove an angled section from the spout.
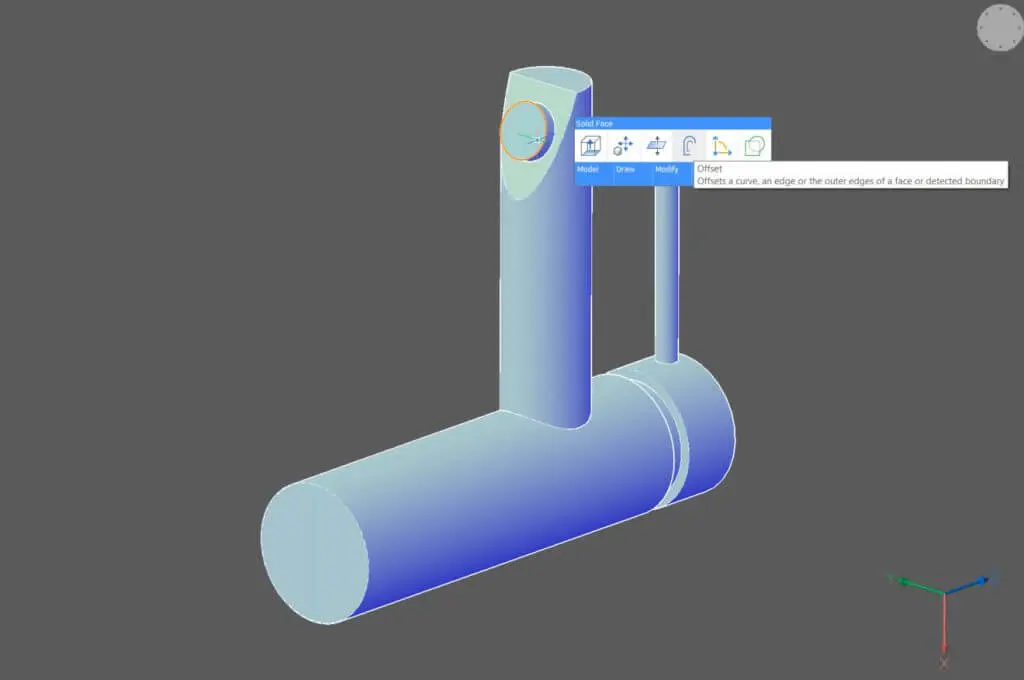
- On the surface, you just created, draw a circle in the center of the surface. Use ESnaps -- Geometric center.
Or, use a cylinder.
Note: Hit Shift to lock the drawing surface to the face. - OFFSET the edge of the cylinder. The distance is 0.1.
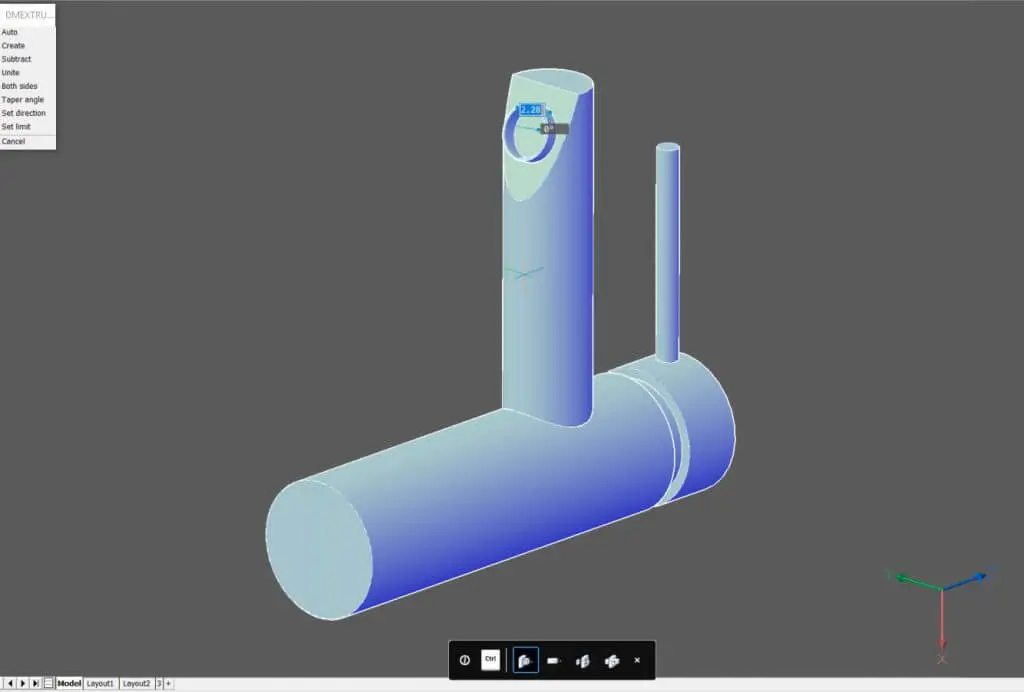
- Extrude into the hole.
- Optional: Use SOLIDEDIT -- Body -- Shell to hollow out the faucet.

Putting it together
The final step was to put the faucet in place and add the piping.
To do this:
- Stay on the same layer. MOVE the faucet into position on the hole of the bowl.
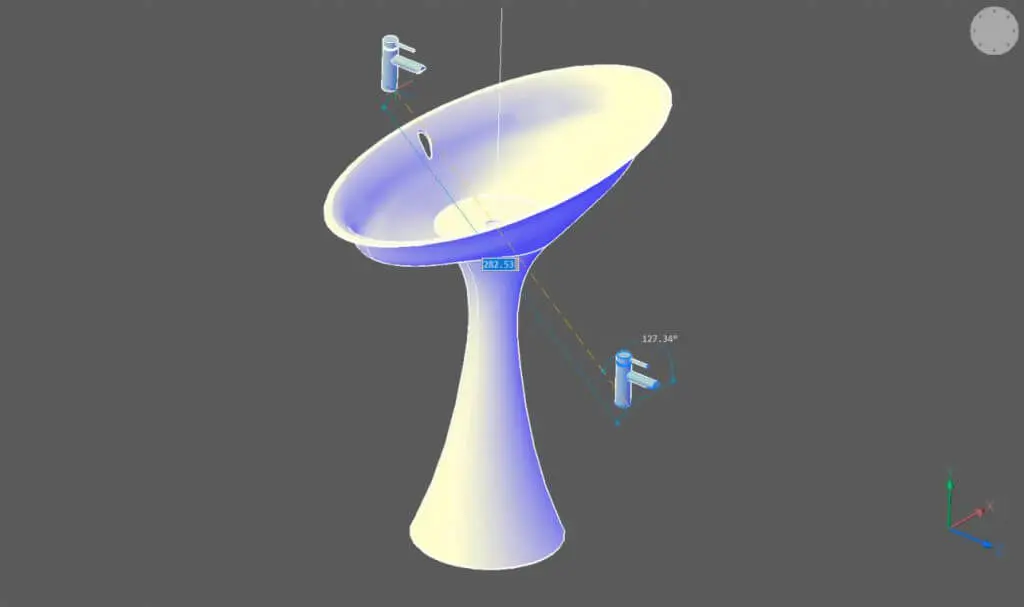
- Using DUCS draw a rectangle along the z-axis, from the base of the faucet.
- Use TRIM to cut remove two of the lines. You should now have two polylines joined at a 90° angle.
Or, draw 2 polylines at 90°.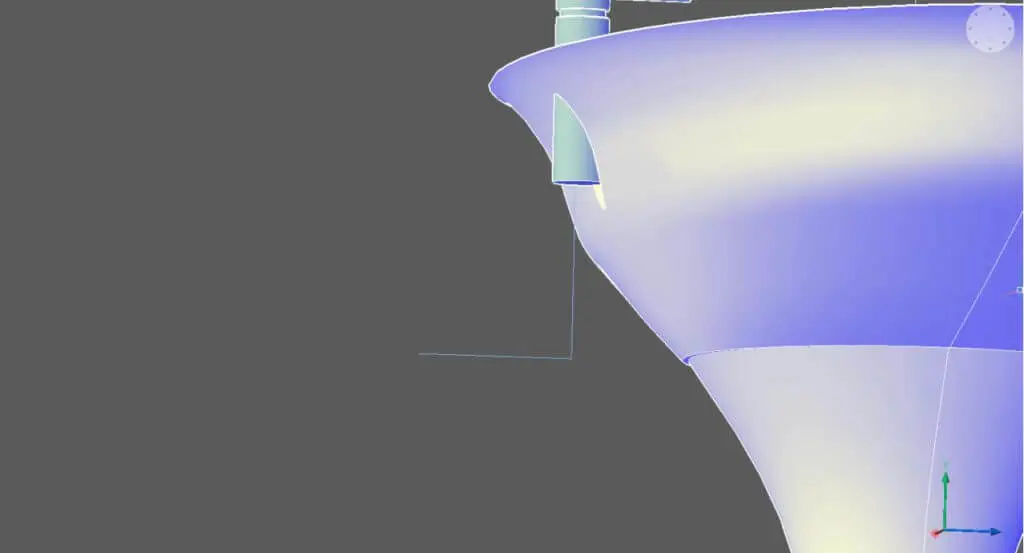
- Fillet the polyline. The radius is 10.
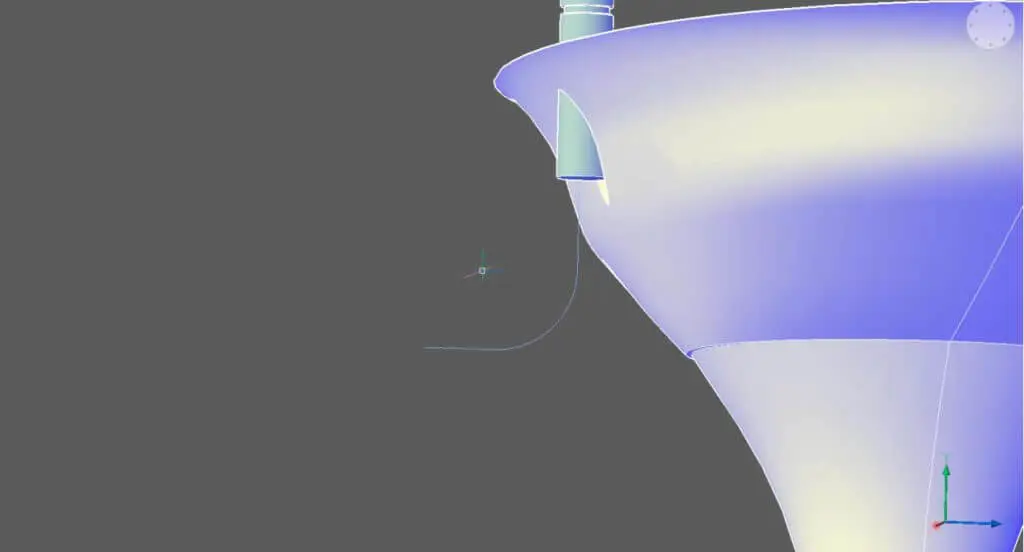
- SWEEP the vertex of the base of the faucet along the line.
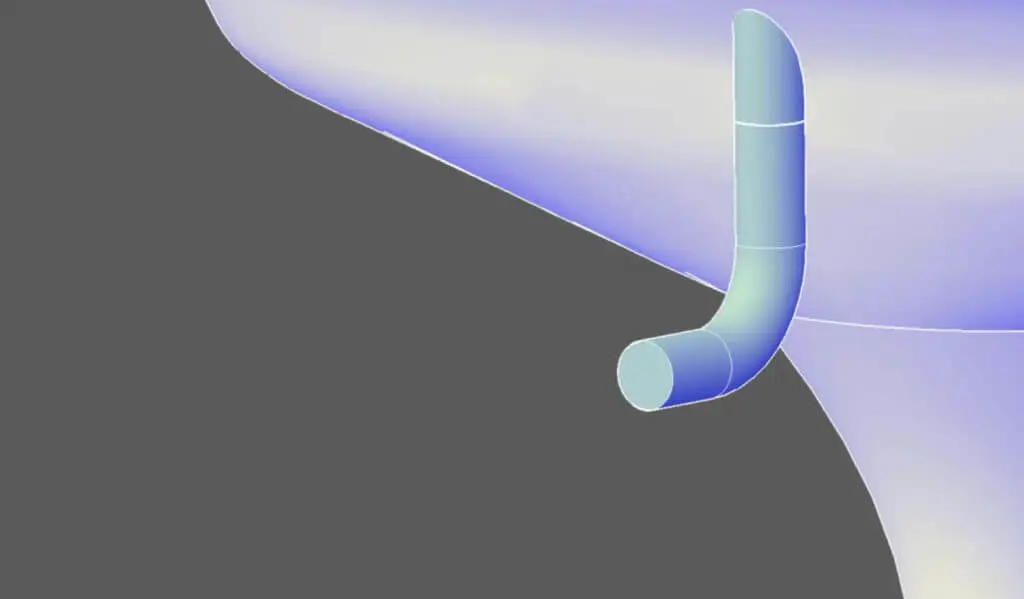
- Repeat steps 2-5, using the drainage hole as the sweep profile.
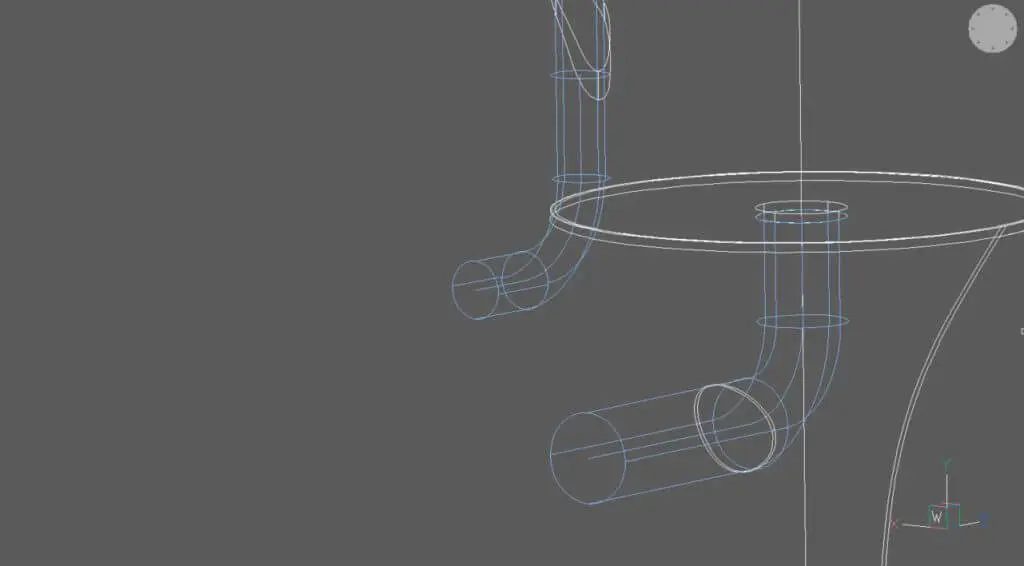
- Use the Subtract command to create a hole in the base. Select the base, then select the drainage piping.
- As a final touch, you can use the SHELL command to hollow out the piping.

Next Time
Join me next time when I show you how to create a toilet with BricsCAD
Don't have BricsCAD yet?
Easy to try, easy to buy, easy to own. That's BricsCAD. Try all of our products, for free for 30 days at www.bricsys.com. Freedom of choice, plus perpetual (permanent) product licenses that work with all languages, in all places. You'll love what we've built for you with BricsCAD.
Keep Reading
- Moving from 2D to 3D CAD
- 3D Drawing from engineering plans
- Drawing everything but the kitchen sink
- More Advanced Modeling
- The Shower
- The Sink
- The Toilet
- Walls and Floors
- The Roof
- Windows and Doors
- Create your own components
- Rubber Duck
- Laser-cut puzzle project
Note: This series is intended as a guide to demonstrate how to use different aspects of 3D modeling tools. It may not always demonstrate the fastest way of getting the result. Keep coming back to see if we cover a faster technique at a later date.

