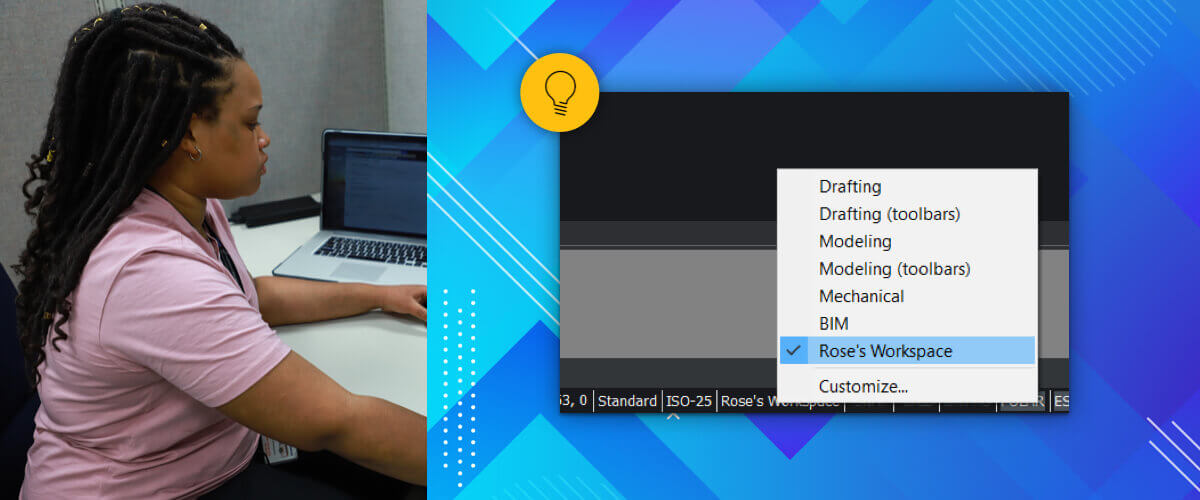
BricsCAD® panels are special because you can resize, dock or float them and, unlike dialog boxes, they can remain open while you're using other commands. This allows you to create a custom BricsCAD workspace.
The following BricsCAD panels are dockable:
Power User Tips
- You can double-click a panel icon to float the panel temporarily, then double-click the floating panel's drag bar again to put it back where it was.
- Hold Ctrl (Cmd for Mac) as you drag a panel so it does not dock or anchor.
- Hold Shift as you drag a panel to force a it to dock.

Moveable Panels
Panels in BricsCAD can be moved to anchor in the top, bottom, left or right. They can also float and can even float onto another screen.
- Click the ... or the icon and drag the icon to the other icon strip.
- Move the cursor over to required location then release the left mouse button. If a docking location selector displays, the blue zone indicates the selected docking position.

Stackable panels
In BricsCAD, panels can be combined to create stacked panels.
- Click the ... or the icon and drag it over the other panel or strip.
The docking location selector displays. The blue zone indicates the selected docking position. - Move the cursor over the docking location then release the left mouse button.
The stack type is defined in the Customize | Workspaces dialog through the Stack Type property of a workspace.
The possible stack types are:
- Fixed resizable panel set -- Panels dock next to each other or in a tabbed panel
- Collapsible panel set -- Panels dock at a default location in an icon strip at the left or right side of the screen and narrow the drawing area when expanded.
- Flyout panel set -- Panels docked at a default location in an icon strip at the left or right side of the screen and overlap the drawing area when expanded.
Control Panels through settings
Use the -TOOLPANEL command to show, hide or toggle the display of the various tool panels at the command line.

Panels property of a workspace in the Customize | Workspaces dialog defines if panels are docked to the left or right side of the screen.
- Panels | Stack (LDOCK) define the panels stacked a the left side of the screen.
- Panels | Stack (RDOCK) define the panels stacked a the right side of the screen

Saving your workspace
Now you've got your custom BricsCAD workspace looking exactly the way you want, you might want to save it!
- Enter WorkSpace.
- Choose set Current.
- Give it a name.
You will now be able to select it like any other workspace.
Tip: It's a good idea to create the workspace before you make changes!

Revert to default settings
If you've had enough of your custom BricsCAD workspace you can do a "factory reset" and go back to BricsCAD default settings.
- Open the Customize dialog box. Right-click outside the drawing area and select Customize... from the drop-down menu.
- Select the Workspaces tab.
- Click Manage your customizations...
- Click Revert to defaults.
More Tips:
- BricsCAD Trial Versions
- Glossary of CAD terms
- Reduce your work time with The Quad
- Save time with Propagate
- Edit polylines in BricsCAD
- Converting to .dwg
- BIMTags
- 11 ways to draw a square in BricsCAD
- A quick guide to DXF
- Solids, Surfaces, and Meshes
- Sweep
- Callouts, leader lines & balloons
- Automate Technical Drawing
- Orthographic Drawing from a 3D Model in 20 Seconds
- 'api-ms-win-crt-runtime-dll' Error while starting BricsCAD
- Everything you need to know about Render Materials in BricsCAD
- Transform 2D Entities with Stretch
- Move, Edit and Change Entities at Hyper Speed with BricsCAD
- The BricsCAD® Hotkey Assistant & Tips Panel
- The only 9 commands you need to get started with 3D CAD
- OSnap, Temporary Tracking & 3D Snaps
- Line Weights
- Split Views with Viewports
- Find & Replace
- 5 Things You Didn't Know You Could Do With the BricsCAD Cursor

