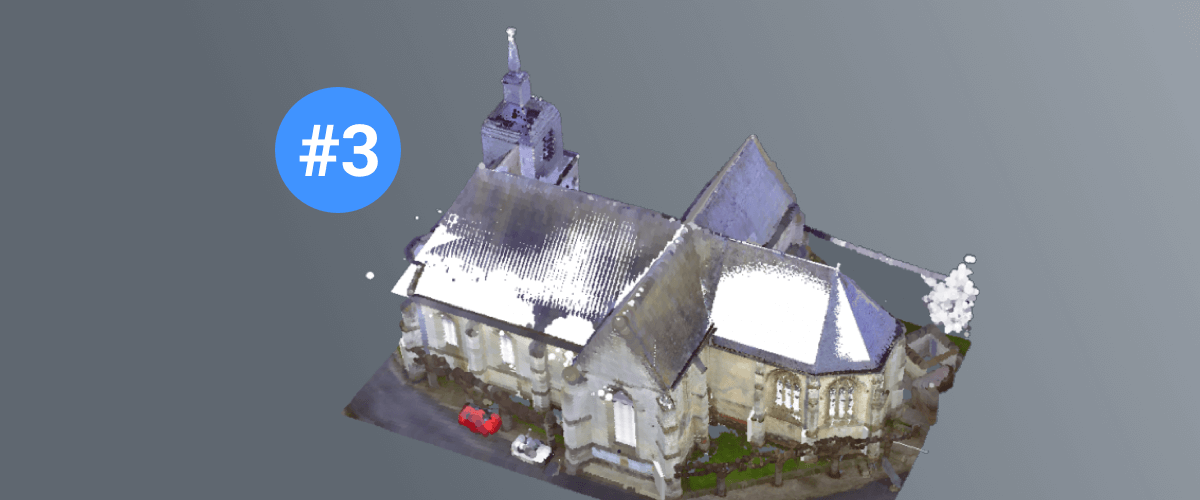
In this series, we cover how to work with point clouds and how to trace and convert a point cloud to a BIM model. In my last 2 posts, I showed you how to create the external parts; the roof and walls, and the tower and windows. In this final installment, I will show you how I created the most intricate part of the church in 3D: the inner arcade with all its complex arches.
Making the inner arcades
To make the inner arcades I used basic 3D modeling: extruding polylines and shelling solids.
How to Do This
- Make a new Volume Section use BIMSection with the Detail option, that shows only the inner arcades.
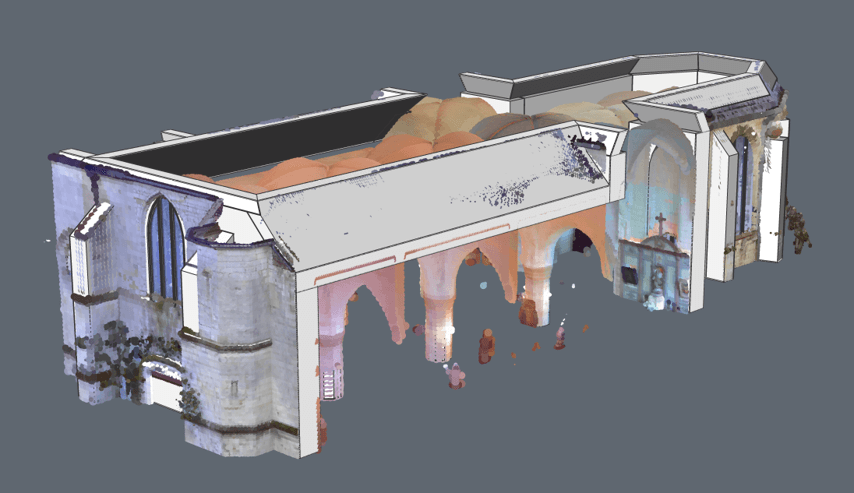
- Set your UCS to the back face, of the front wall, of the church.
- Use Polyline and Arc to draw the contour of the arches (Mirror the first arc, to get a symmetric result -- These are the same as the steps used to create the window shape).
- Use Region to make a region from the polyline.
- Extrude the region into a solid. Extrude all the way to the end of the church. You should now have something like this:
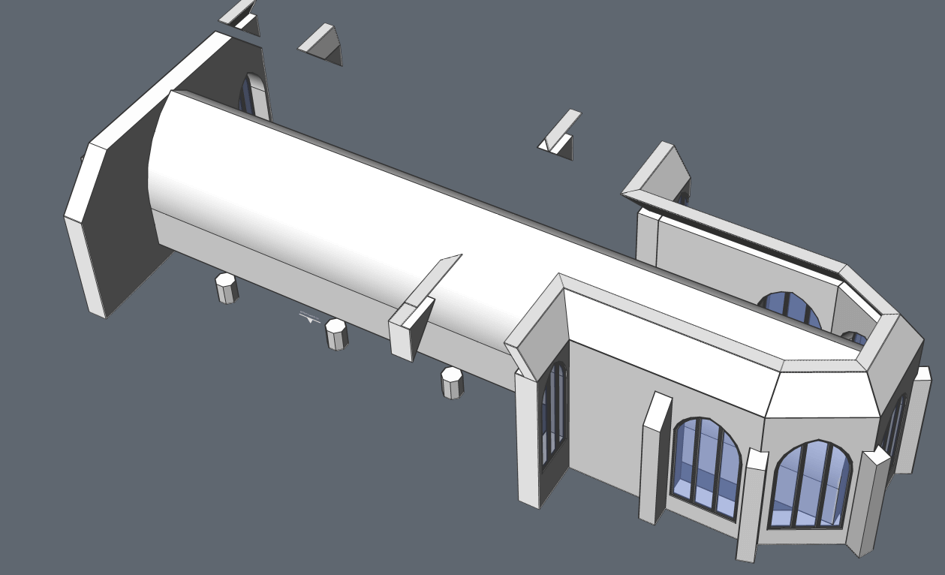
- Copy the solid twice. Position it next to the original one.
- Copy the solid and rotate it 90° to make the shape of the arcade.
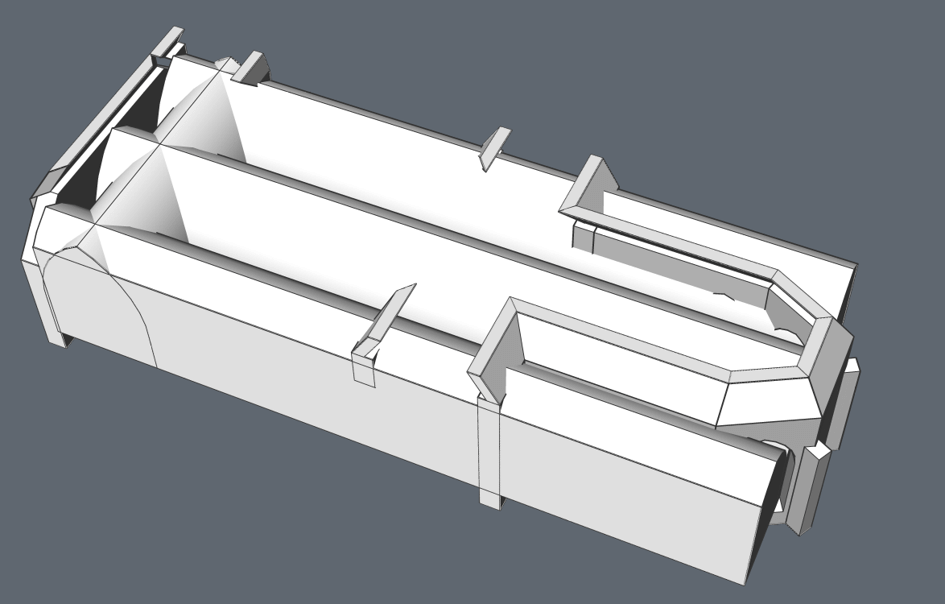
- Array the last arch all the way to the end of the church.
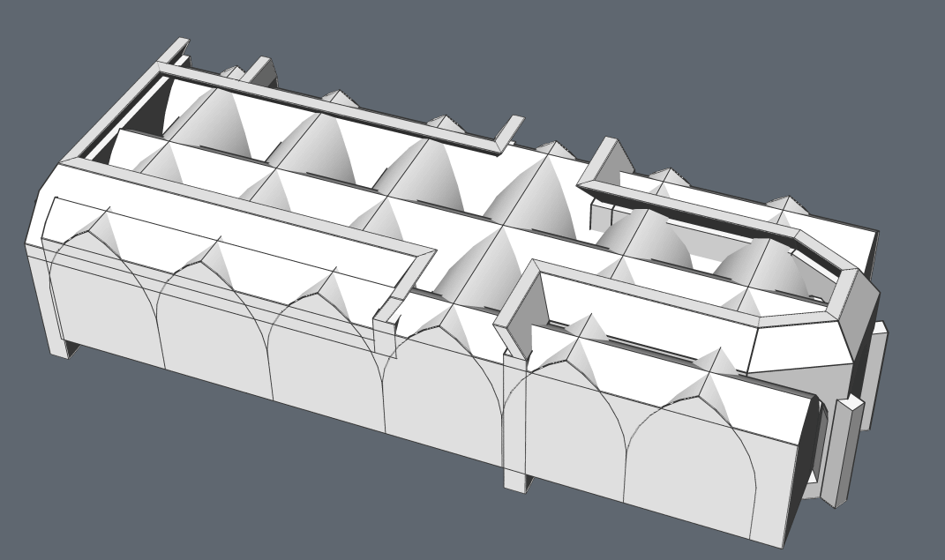
- Explode the array.
- ClipDisplay the volume section and isolate the arches.
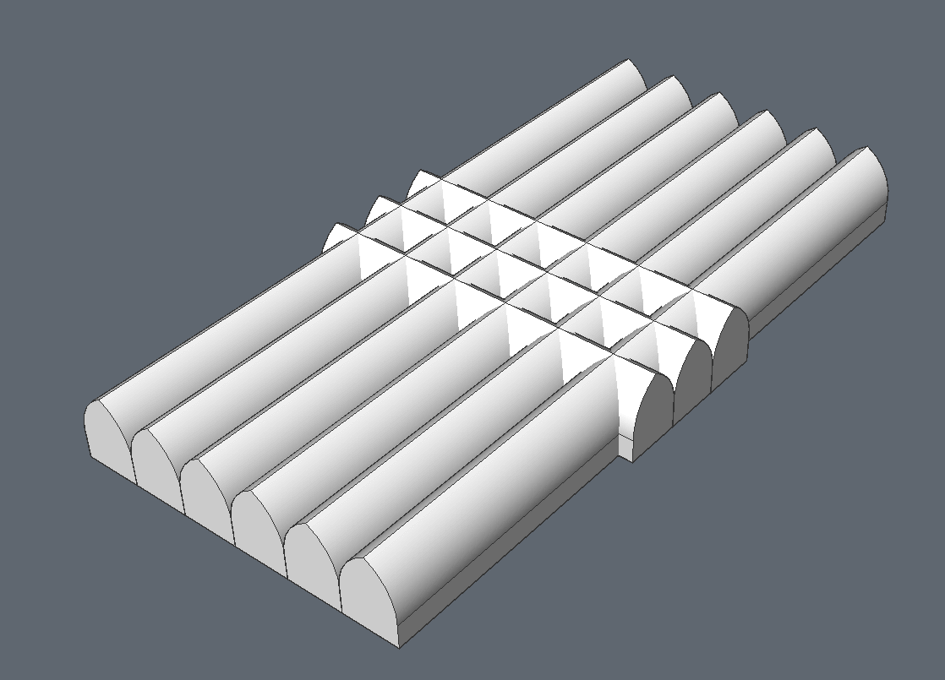
- DmPushPull the sides of the arches to the required width.
- DmPushpull the sides of the side arches required length.
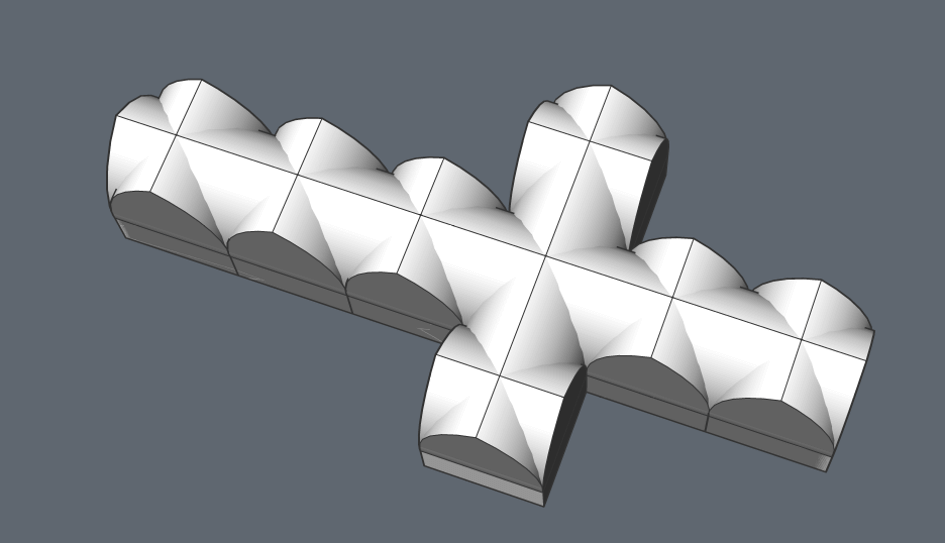
- Subtract the arches in the length of the church from the ones in the width.
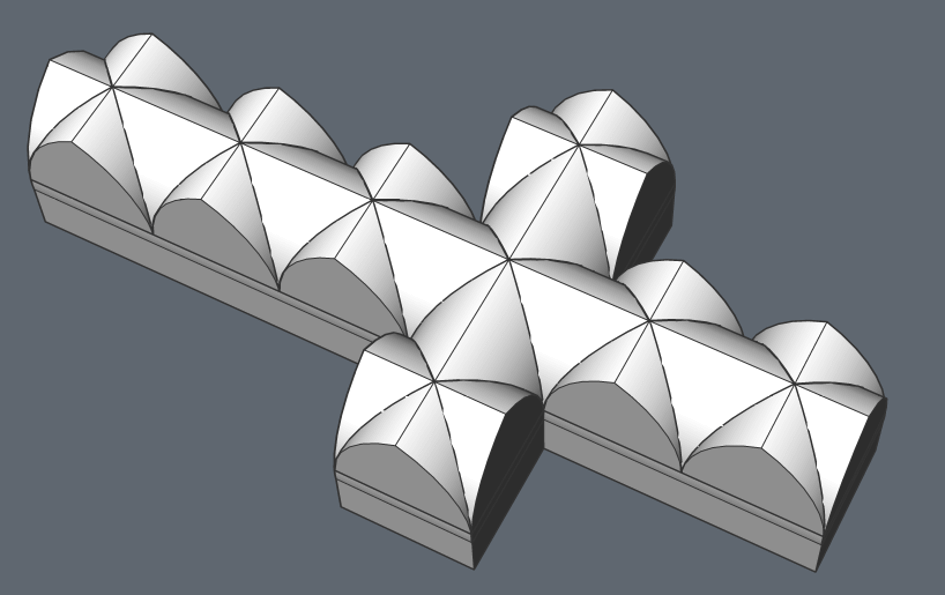
- Shell the main arch. Remove the bottom face.
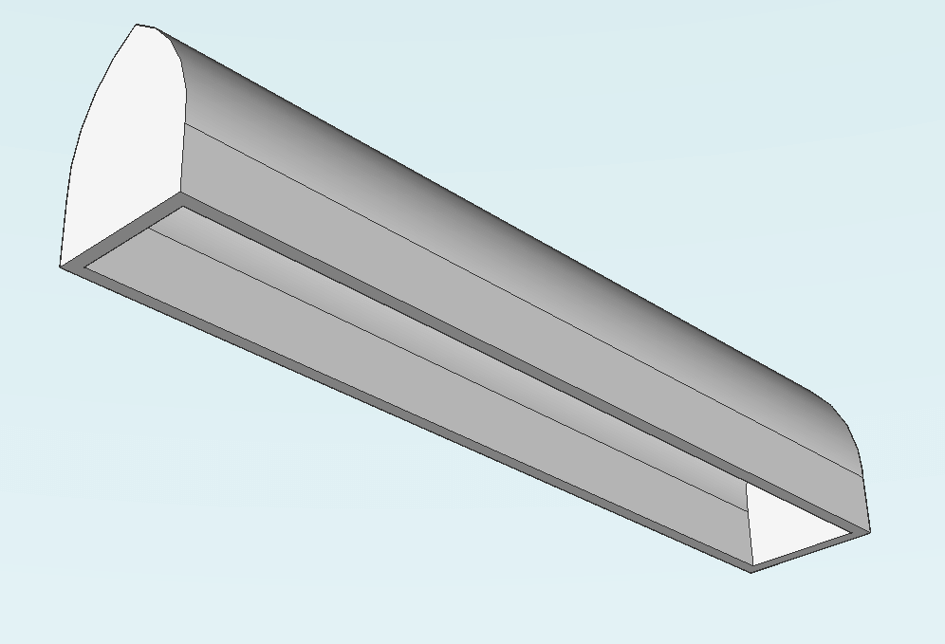
- Shell the two solids in the front of the church, with the front and back face removed:
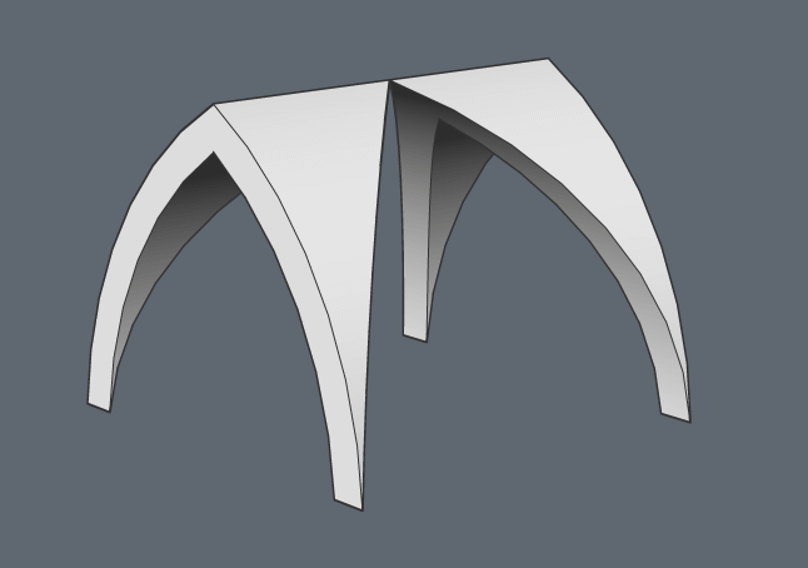
- Repeat steps 14-15 for the rest of the solids
Or use Copy/Paste.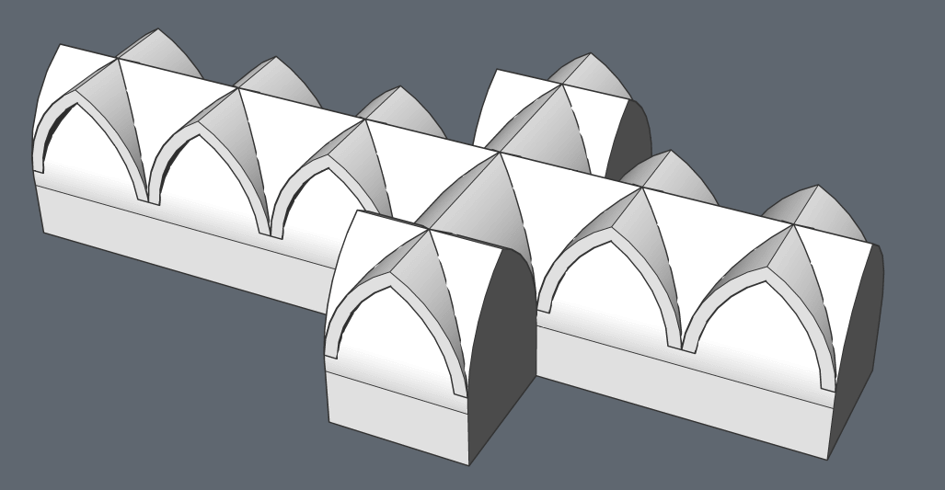
- Slice off the bottom part of the arches:
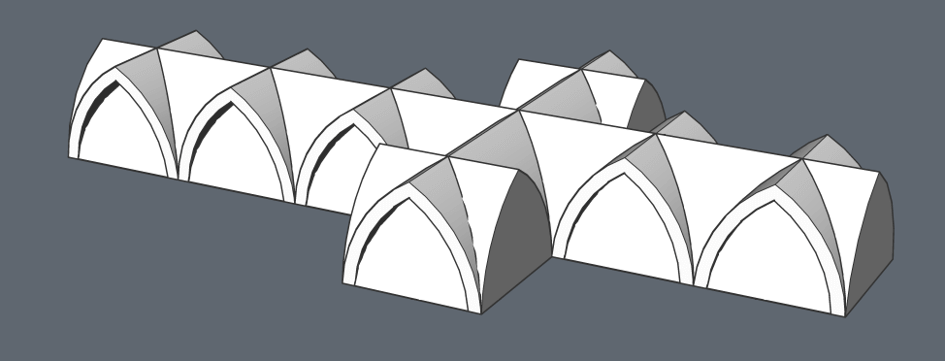
- Use XEdges to extract the edges of one of the side arches, draw a polyline from the arch endpoints to then create this region out of them:
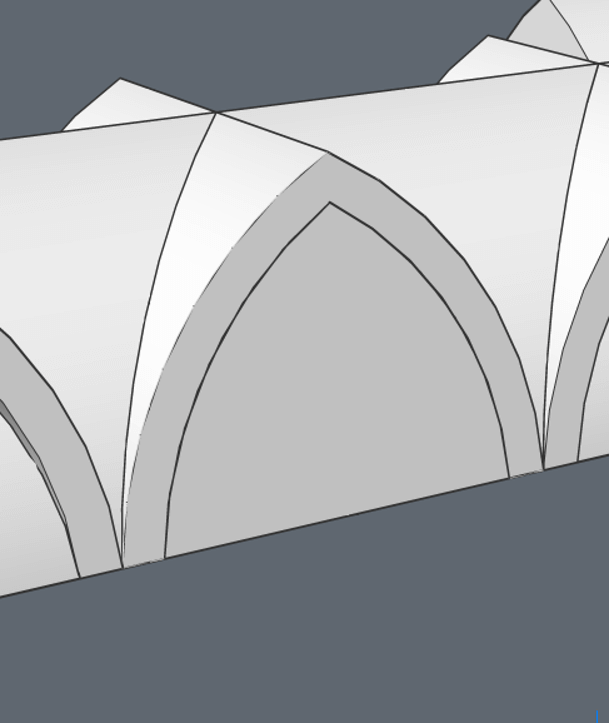
- Extrude this region.
- Copy and paste the solid to all the similar locations.
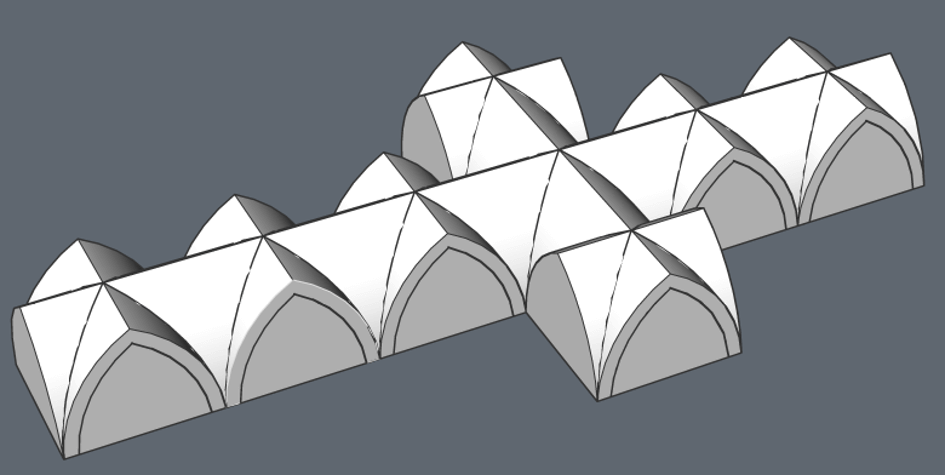
- Subtract those solids from the main arch.
You should now have something like this:
- After some more clean-up, you should have something like this:
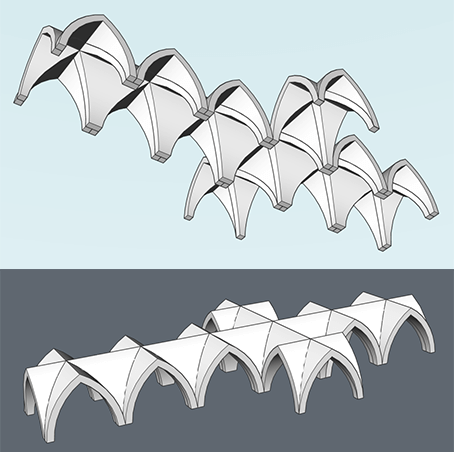
Placing the columns
To finish off I adjusted the placement of the column to match the arcade.
How to Do This:
- DmPushPull the top faces of the columns to extend them to reach the arcade.
- Move the columns to match the intersections of our arcade (explode the array first).
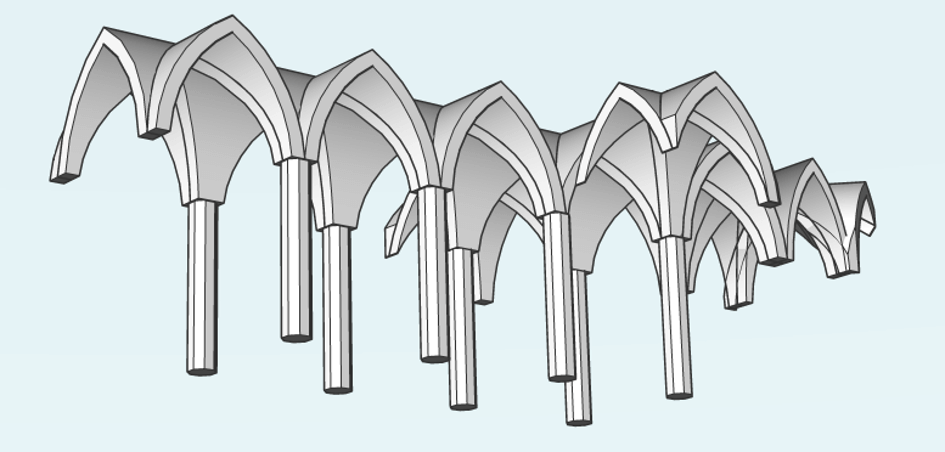
The result
You should now have a nicely modeled church (or whatever building you were modeling) based on a point cloud. If we crop the site of the church out of the point cloud, we can see the model in its surroundings:

If we give the model some materials, it starts to feel like a real church!
...and if we do some quick rendering with the Enscape intergration, our result is very satisfactory!


We can conclude from this series that having the point cloud in your drawing greatly simplifies the modeling process. A complex church that would take ages to measure and remodel is now easy to recreate using the point cloud as a guide!
Point Cloud to BIM Model:
- The Outside
- Windows and Towers
- The Interior
Enscape for BricsCAD will be discontinued and taken down from the Bricsys App Store on 22/10/2023. All active subscriptions purchased before this date will keep receiving support until the subscription expires. Bricsys will provide a version of “Enscape for BricsCAD” that will be compatible with BricsCAD v24.1 If you have any questions please click the “Contact” button in the App Store and create a Support Request.

