3D Modelling

Halloween Pumpkin CADing

By Rose Barfield 3 min October 24, 2019
Halloween Pumpkin CADing

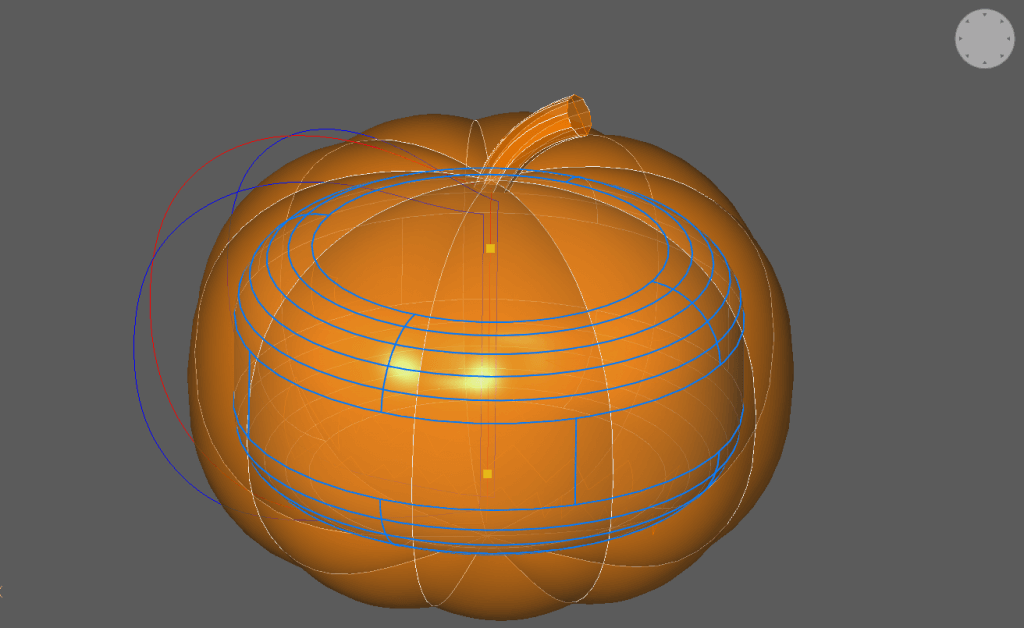
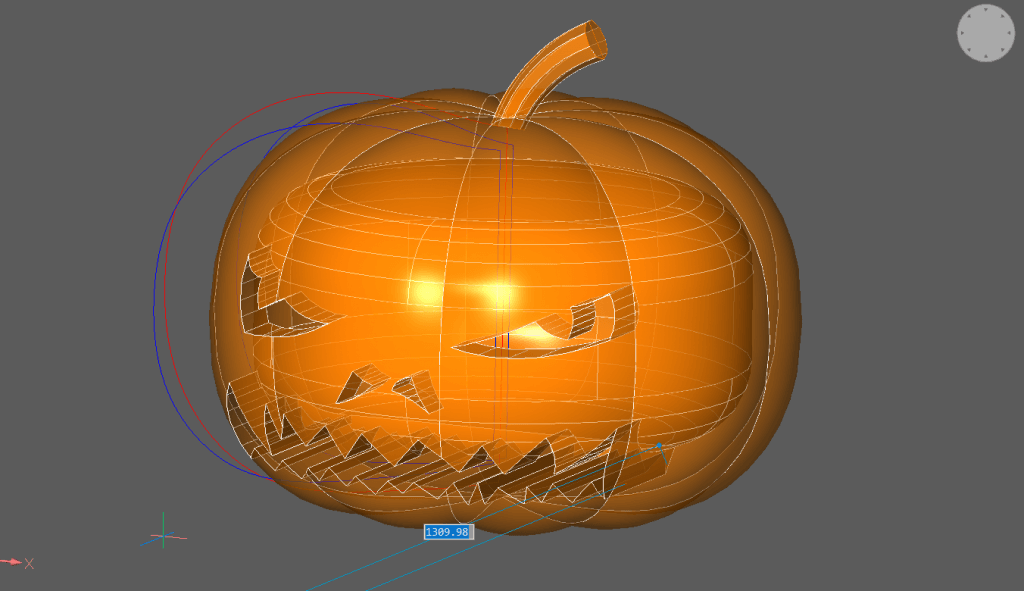
Forget pumpkin carving, get pumpkin CADing with this simple Halloween CAD tutorial? No knife required!

The Body

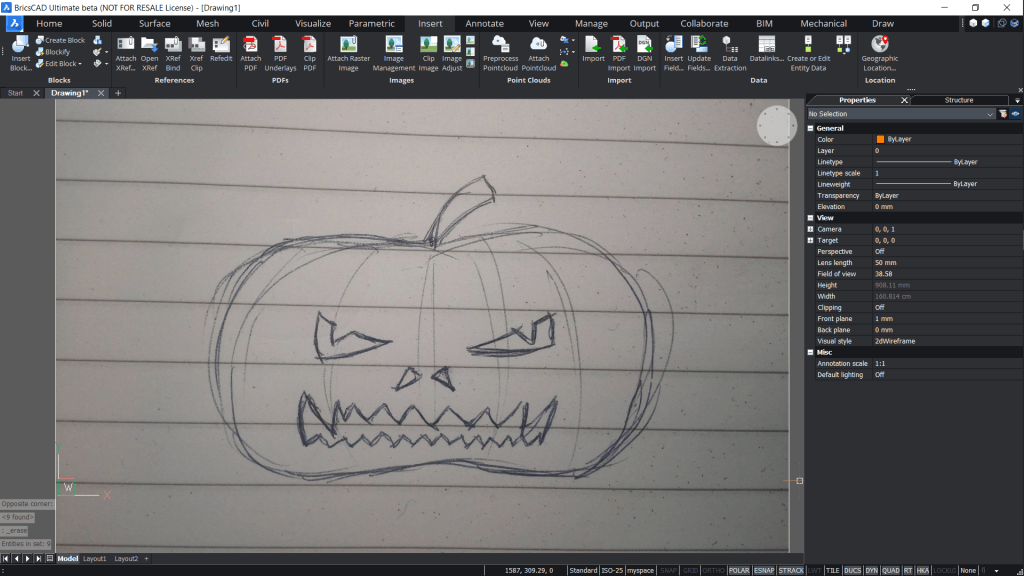
  1. Begin by importing a sketch. Use Attach Raster Image (IMAGEATTACH).Halloween Pumpkin CADing- 1 image-1024x576
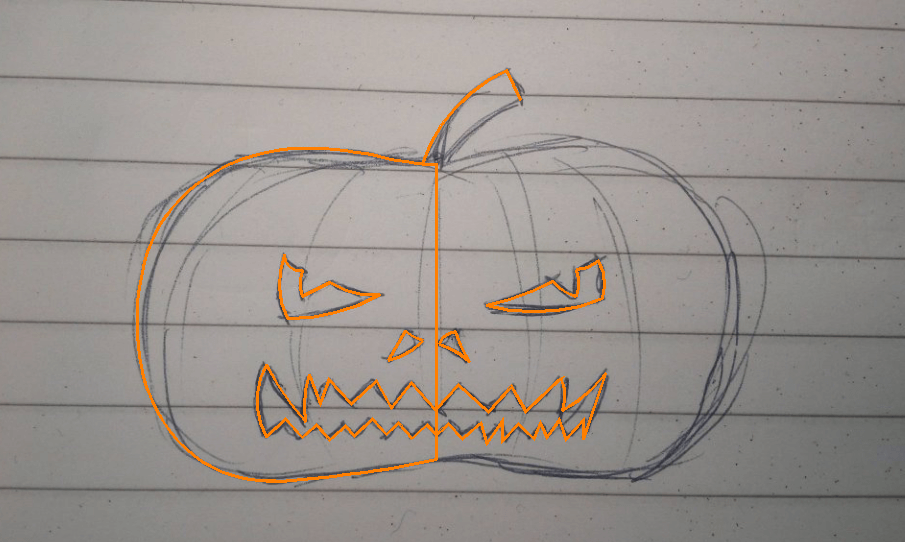
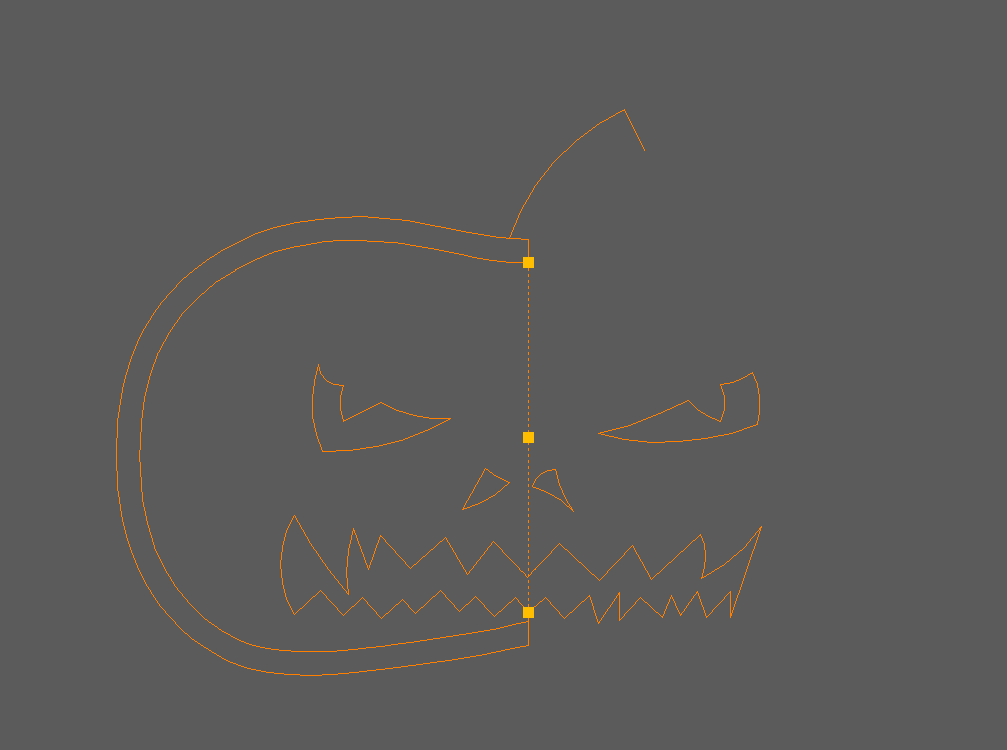
  2. Next, trace the outline either using POLYLINE or SPLINE. You only need to trace half the pumpkin.Halloween Pumpkin CADing- 2 lines
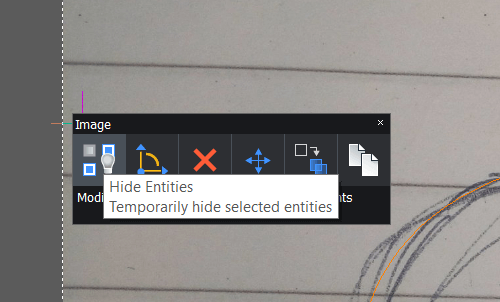
  3. HIDE or ERASE the image. You no longer need this.Halloween Pumpkin CADing- 3 hide
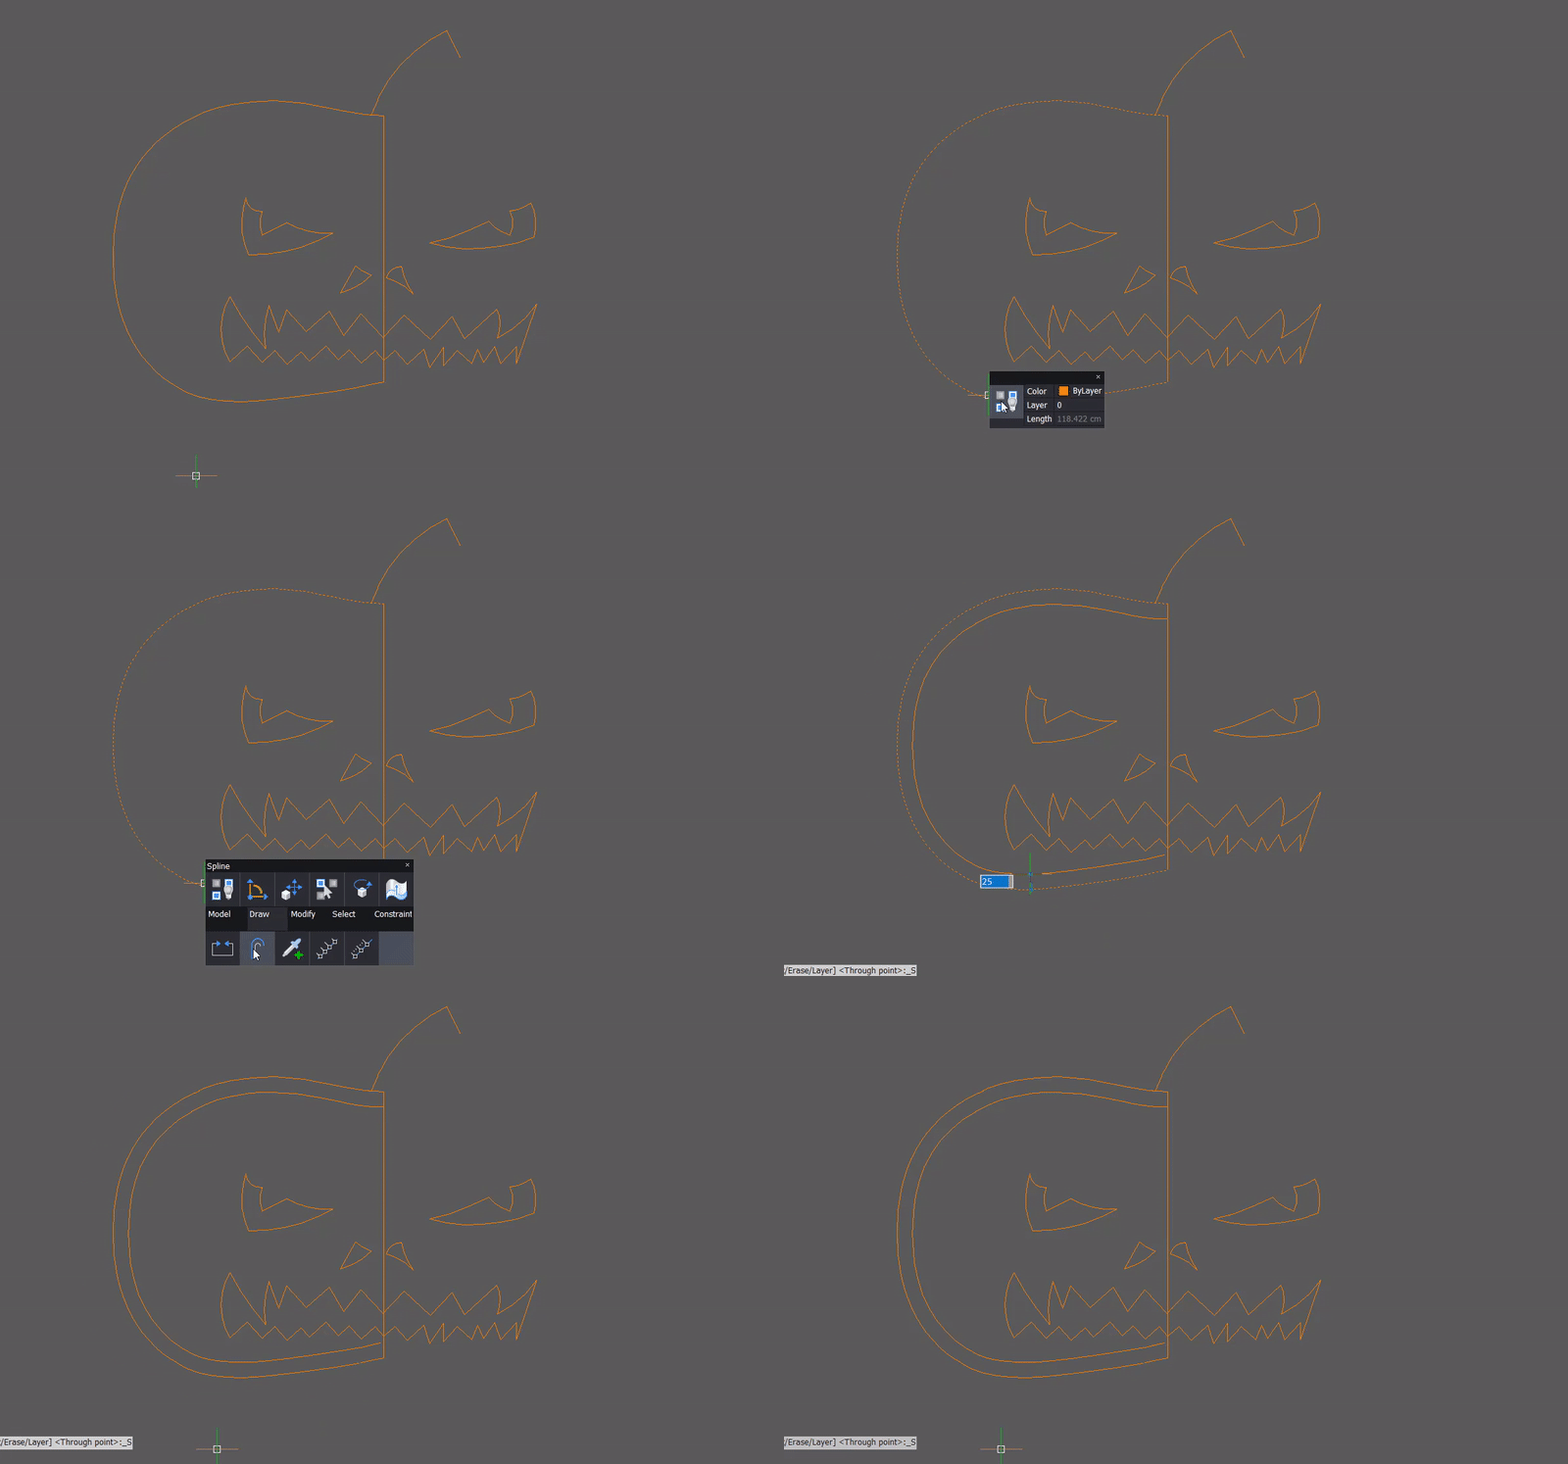
  4. OFFSET the edge.Halloween Pumpkin CADing- 4 offset
  5. EXTEND the edges to the centerline.
  6. Draw a LINE connecting the ends.Halloween Pumpkin CADing- 5 centerline
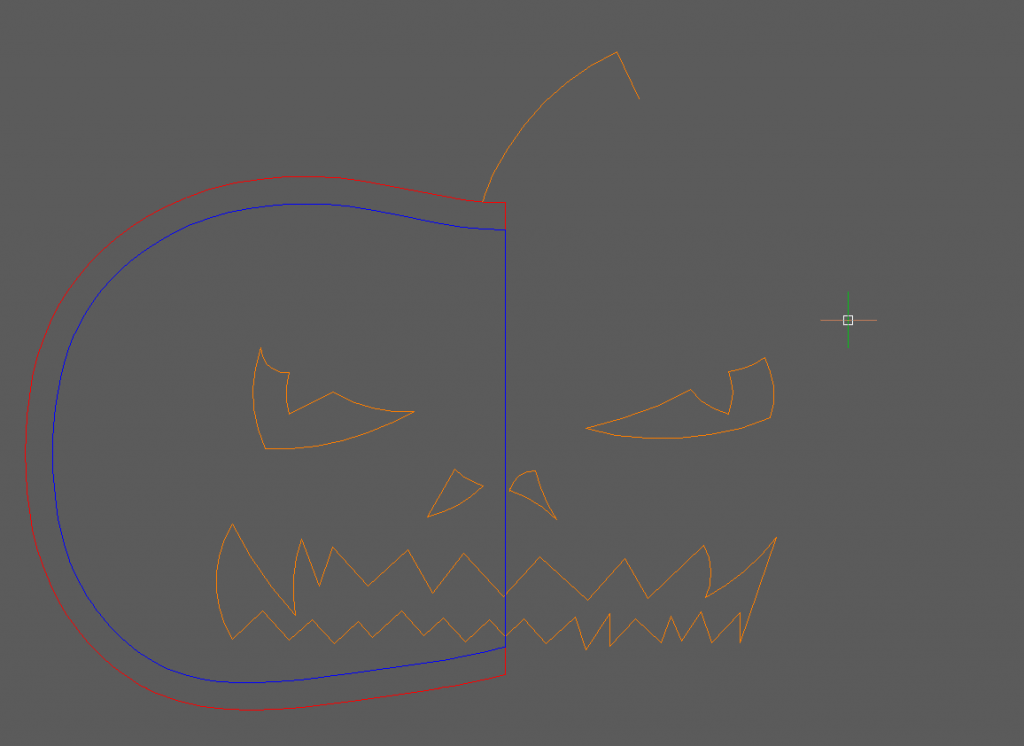
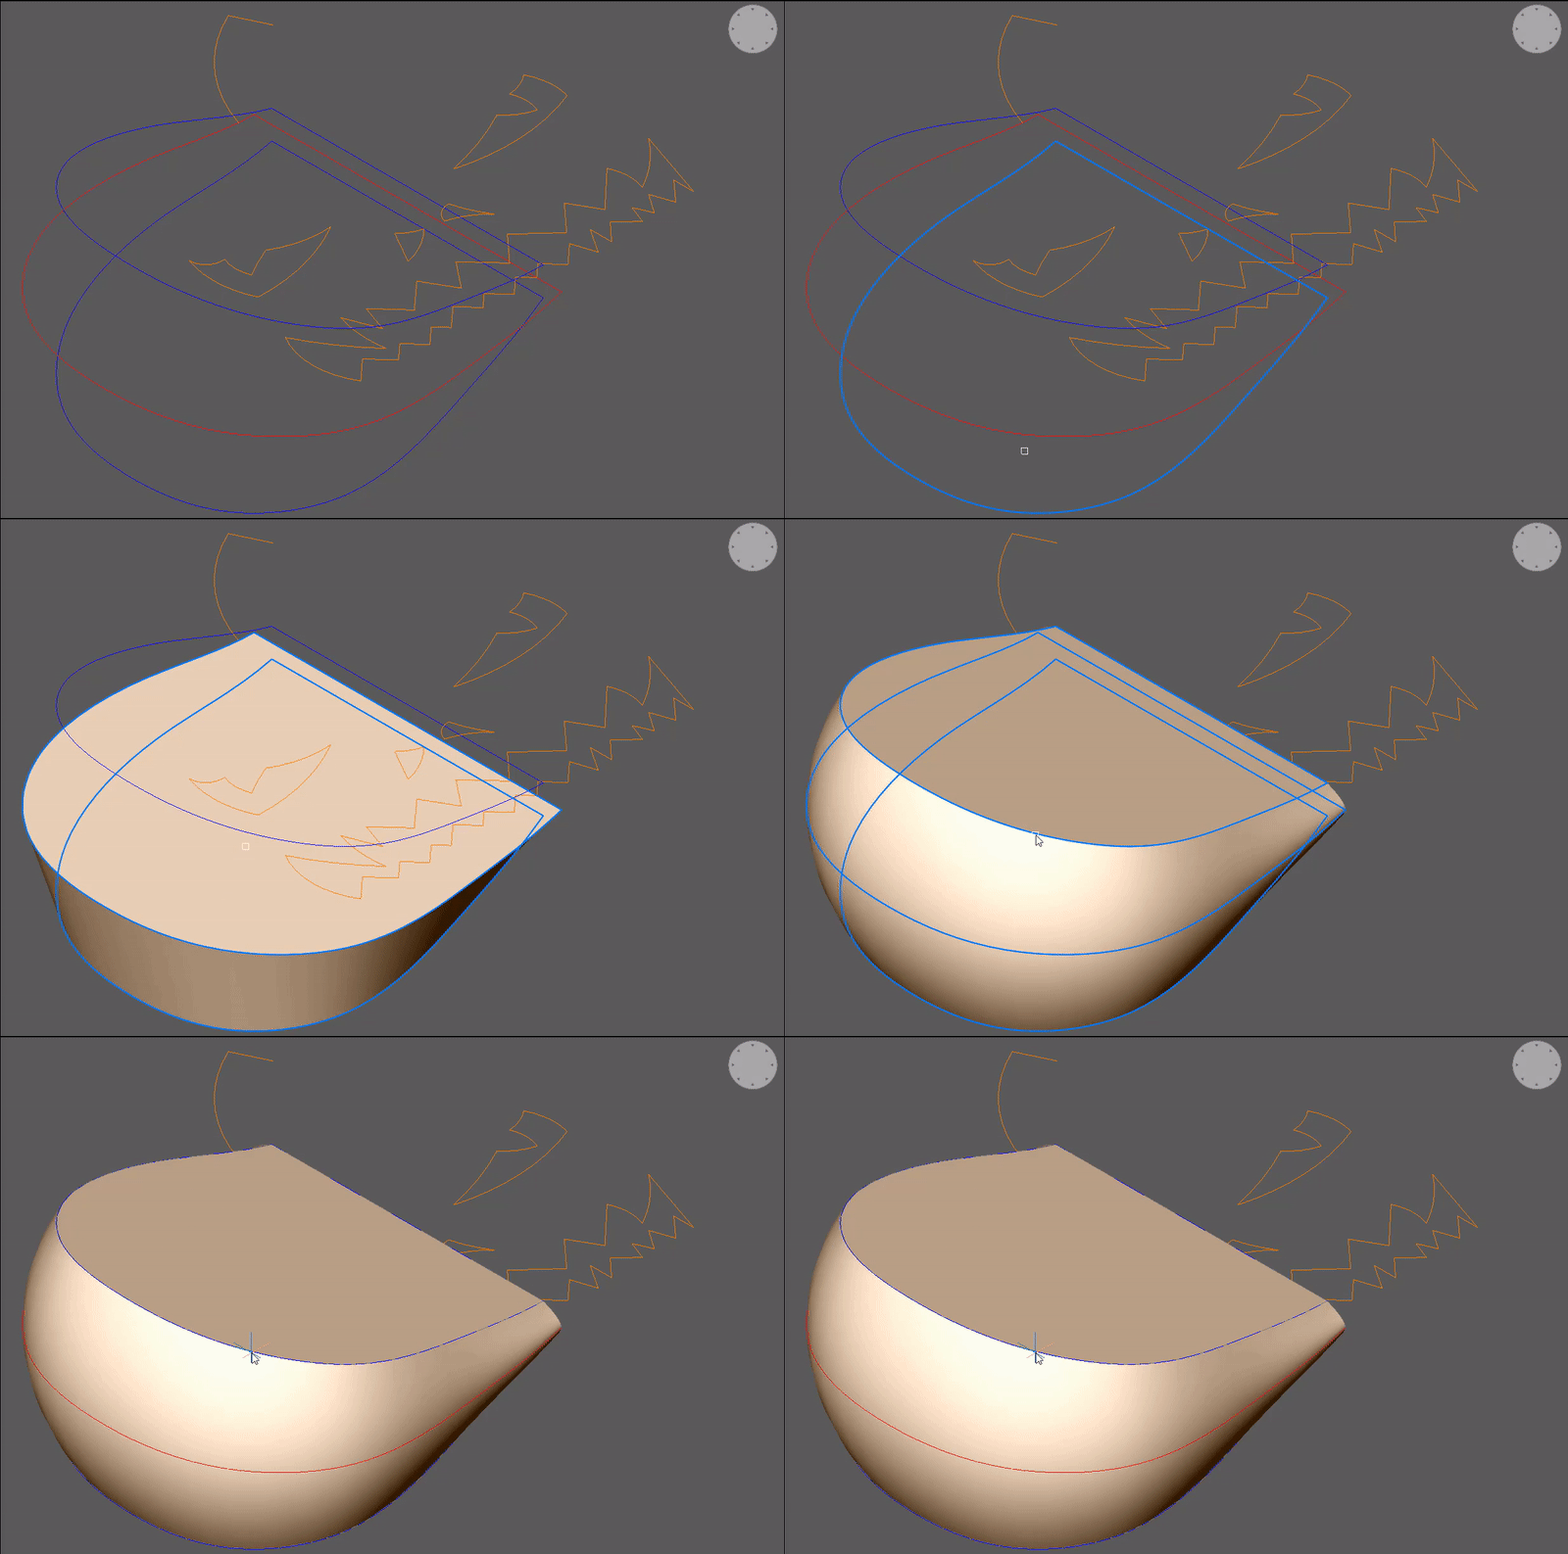
  7. Use JOIN to create to closed shapes (red and blue).Halloween Pumpkin CADing- 6 closed shapes-1024x746
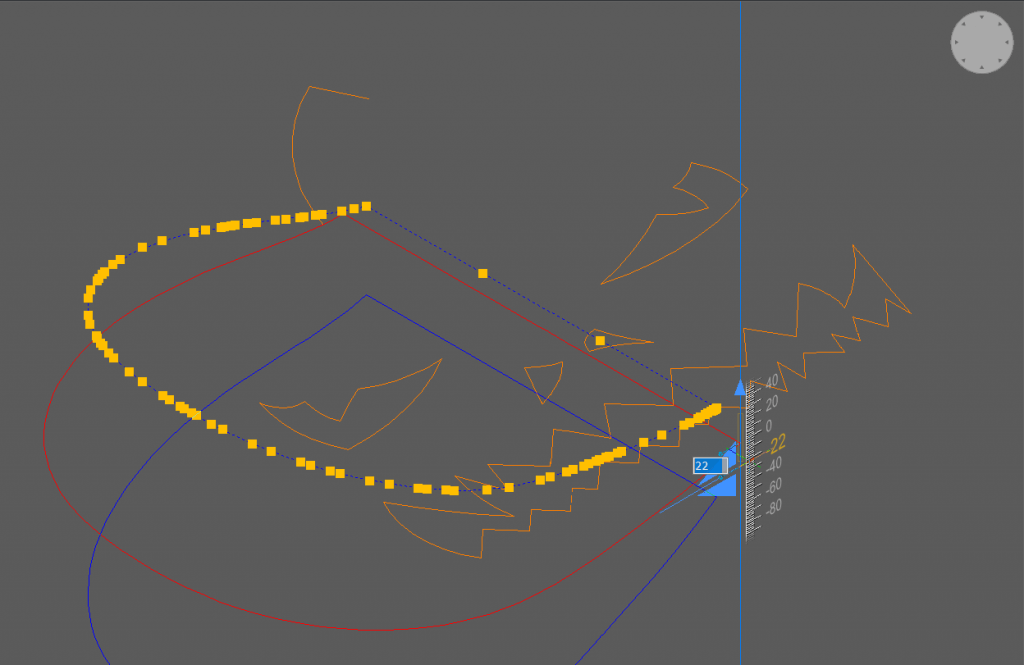
  8. Use the Manipulator to lift the inner shape up slightly.
    Note: You can learn more about manipulating entities on Heidi's blog.Halloween Pumpkin CADing- 7 lift-1024x662
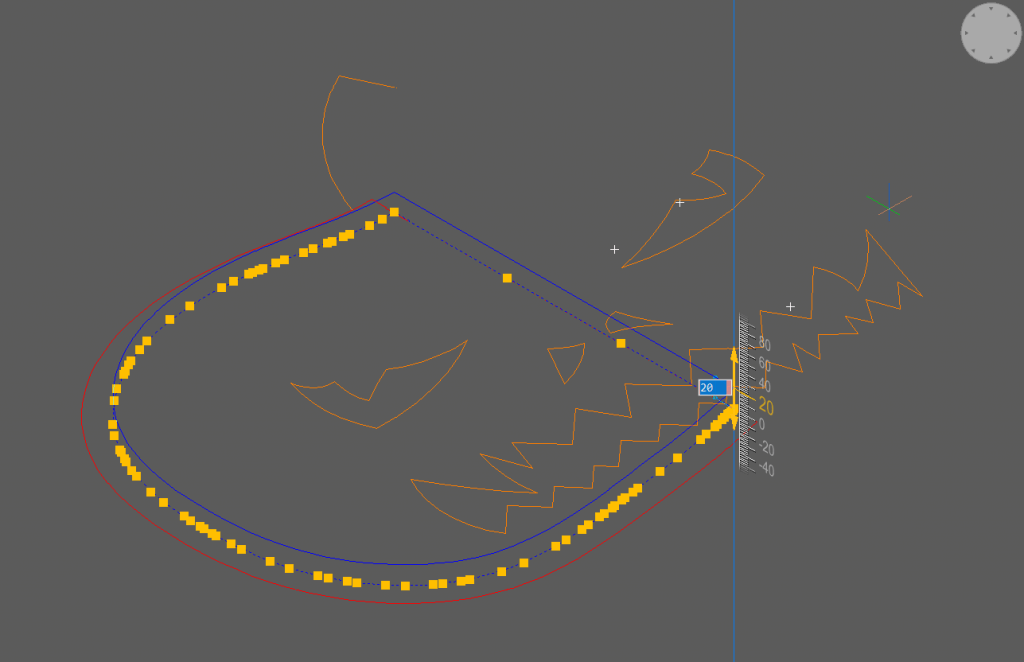
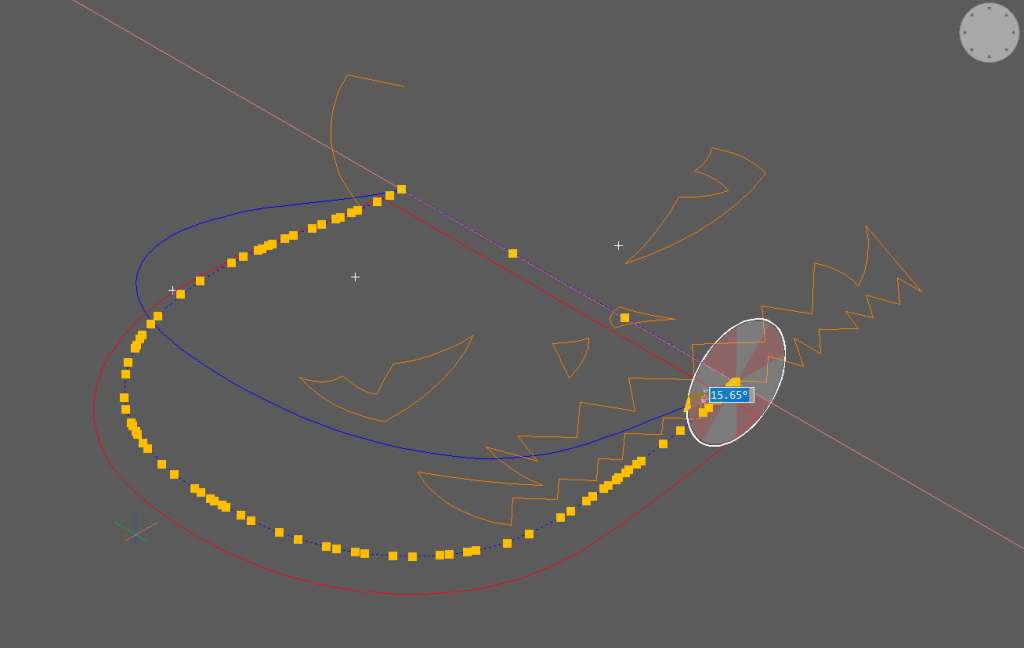
  9. Rotate.Halloween Pumpkin CADing- 8 rotate-1024x648
  10. Mirror.Halloween Pumpkin CADing- 9 mirror-1024x665
  11. LOFT between the shapes.
    Note: you might need to convert the spline to a polyline. Read more about polylines and splines.Halloween Pumpkin CADing- loft 1
  12. Use ARRAYPOLAR to repeat the shape.
    That's looking pretty good, but now I want to tweak the shape so everything overlaps properly.Halloween Pumpkin CADing- 11 array-1024x742
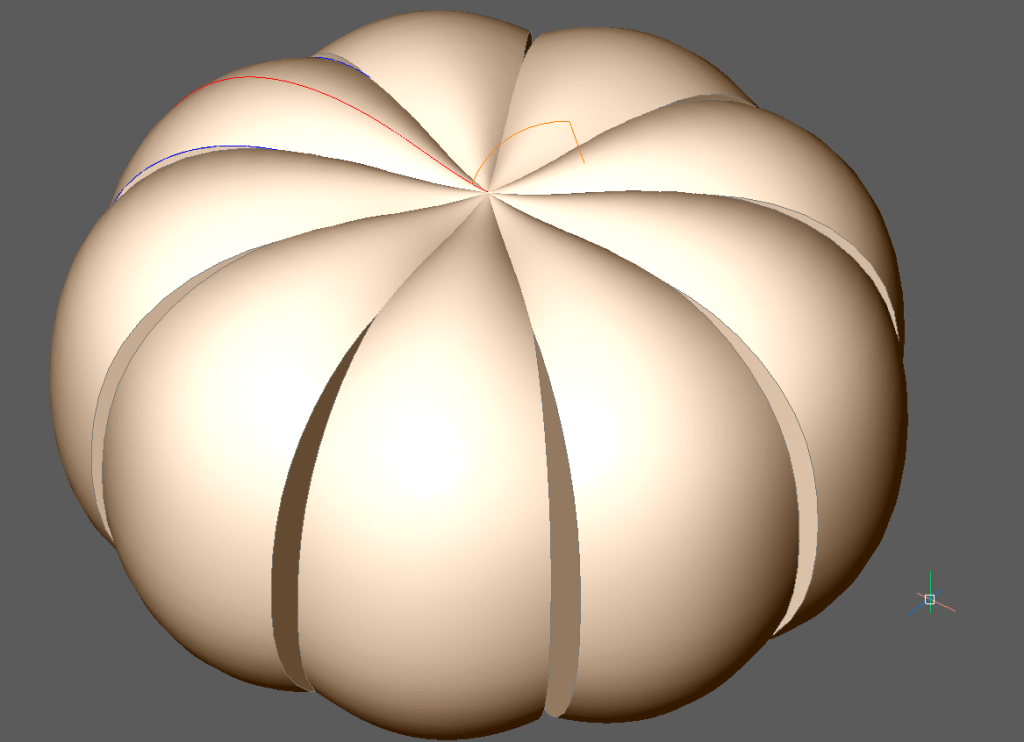
  13. Hover over the array and hold Ctrl adjust the array.
    Alternatively, use the Properties Panel to adjust the array.Halloween Pumpkin CADing- 12 b array adjust
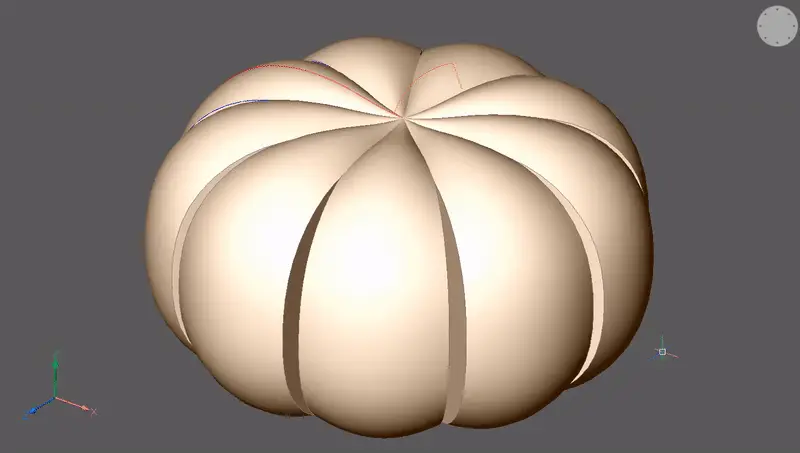
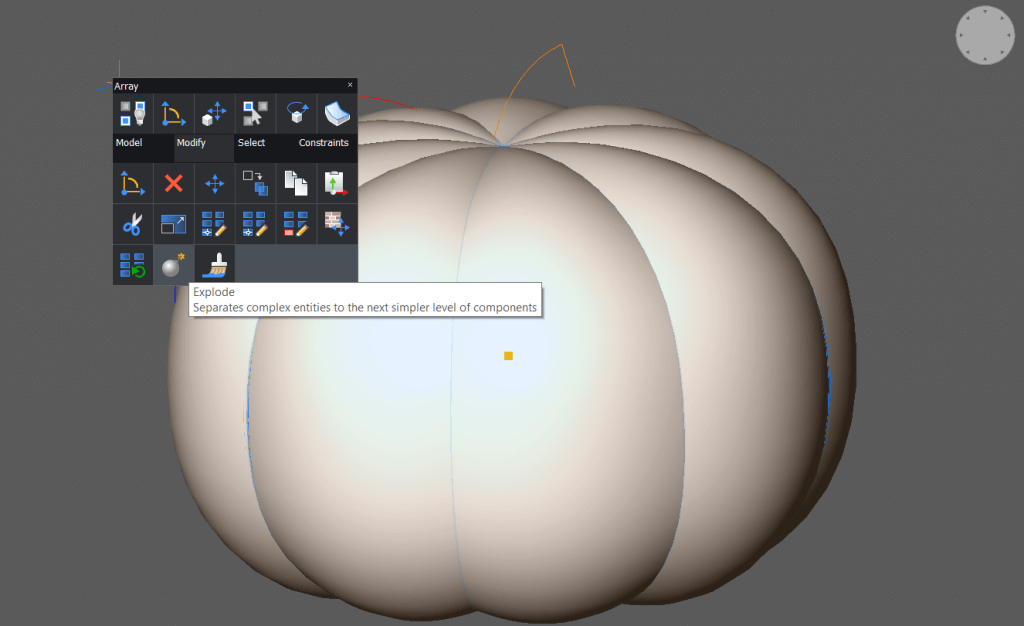
  14. EXPLODE the array.Halloween Pumpkin CADing- 15 explode-1024x626
  15. Use UNION to join the solids. This completes the "body" of the pumpkin.

The Stalk

  1. Draw a POLYGON.Halloween Pumpkin CADing- 12 shape-1024x611
  2. COPY the shape
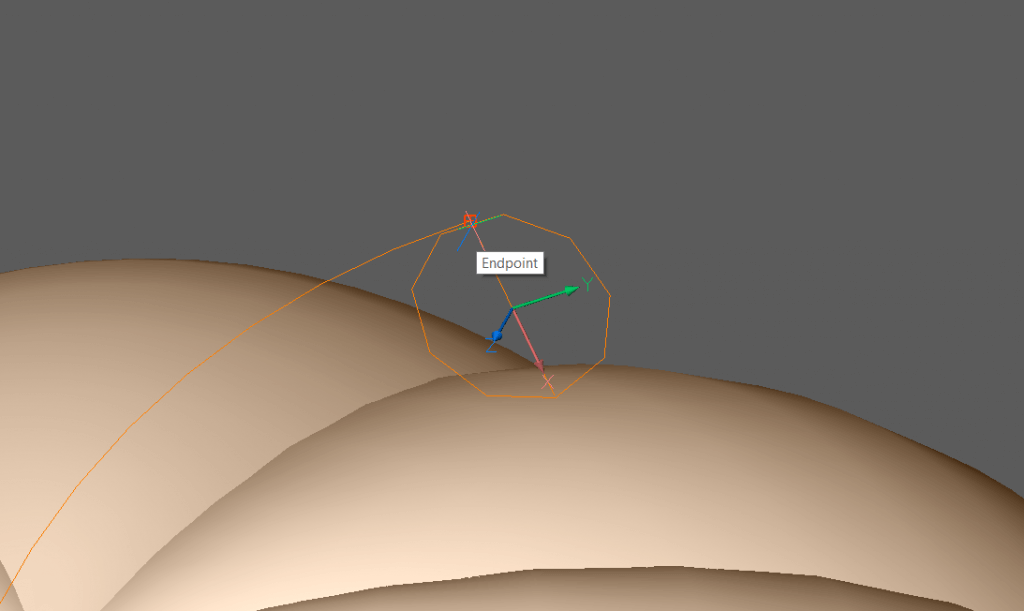
  3. Use ALIGN to move the copied shape into position.Halloween Pumpkin CADing- 13 align
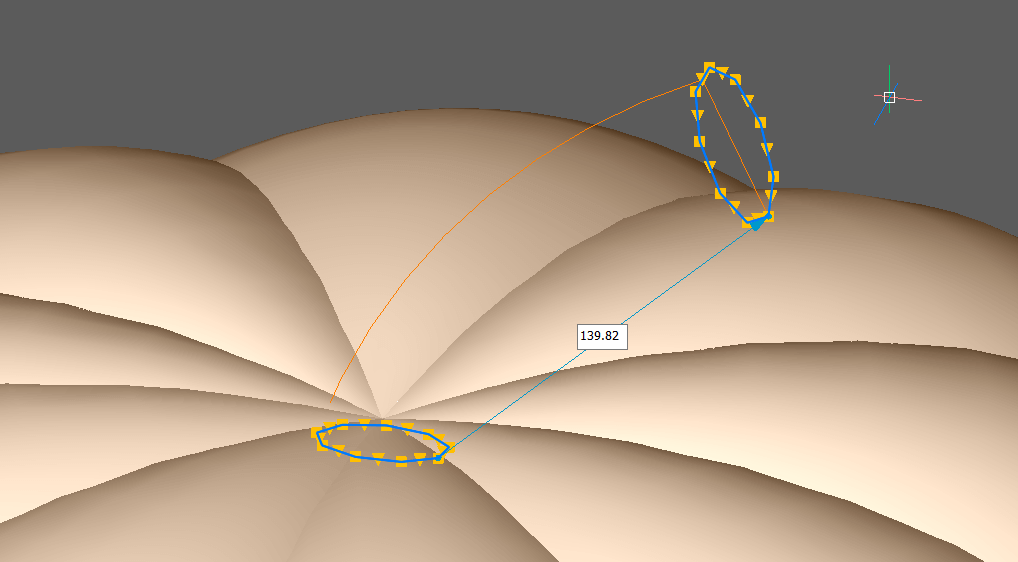
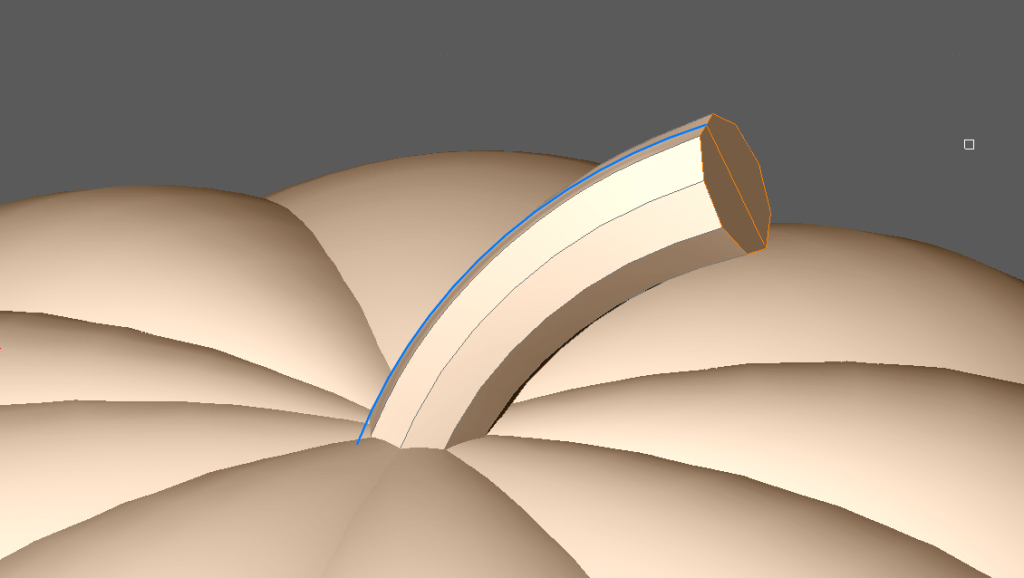
  4. LOFT between the two shapes. This time use the option "Guides". The loft will now distort along the curve.
    Hint: the simpler the guide curve the better the result.Halloween Pumpkin CADing- 14 loft-1024x578
The Carving

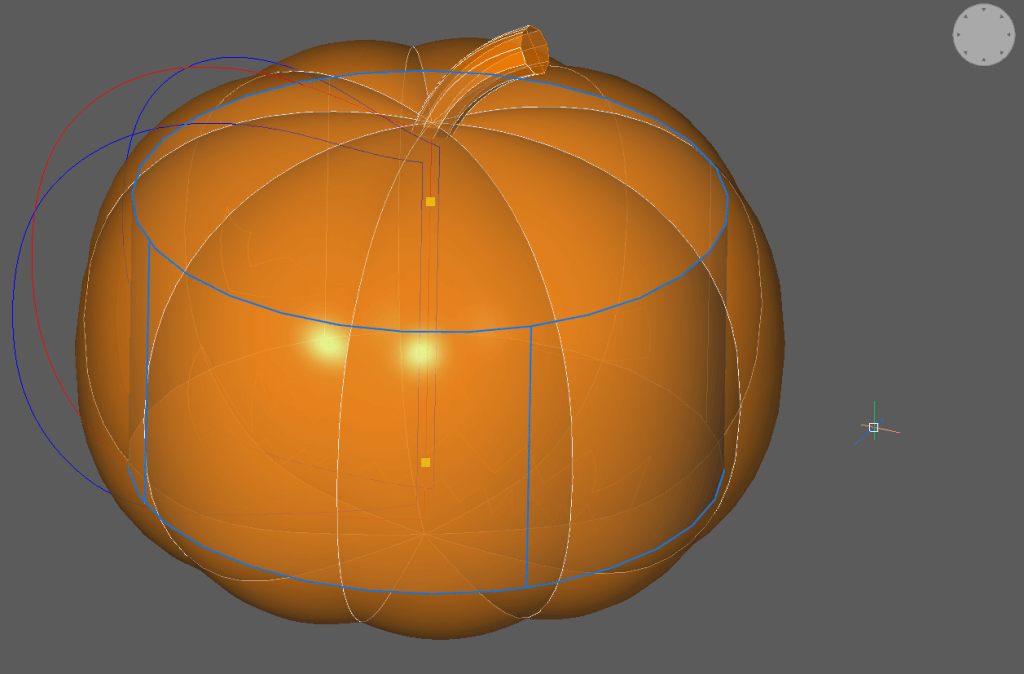
  1. Create a CYLINDER inside the body.Halloween Pumpkin CADing- 16 cylinder-1024x674
  2. FILLET the edges.Halloween Pumpkin CADing- 17 fillet-1024x628
  3. SUBTRACT the solid from the body.
  4. EXTRUDE the face using the "Subtract" mode.Halloween Pumpkin CADing- 18 extrude-1024x591

Finishing up

As a finishing touch, add some materials and lighting to the design.Halloween Pumpkin CADing- 19 lights camera action-1024x576

Halloween Pumpkin CADing- render-1024x519


Follow this Halloween CAD tutorial

It's easy with BricsCAD. Try all of our products, for free for 30 days at www.bricsys.com. Freedom of choice, plus perpetual (permanent) product licenses that work with all languages, in all places. You'll love what we've built for you with BricsCAD.


March 19, 2024 8 min

What's New in BricsCAD® V24.2

BricsCAD® V24.2 is chock full of new and enhanced features for 2D drafting, 3D modeling, civil, survey, BIM, and mechanical workflows. With this release, the Bricsys team included several new features and improvements to help you accelerate your time to deliverable and provide you with a familiar CAD experience. So, let's dive in and explore what's new in BricsCAD V24.2!

March 10, 2024 6 min

The path to Scan to BIM automation with BricsCAD® BIM V24

The new automation tools included in BricsCAD® BIM V24 make the Scan-to-BIM process easier and more efficient! If you want fast and accurate reality capture of existing objects, these tools will be a great addition to your arsenal. We've added tools like the Point Cloud Classifier, Point Cloud Detect Rooms, Point Cloud Fit Rooms, and Normal Calculation for structured point clouds to help you create digital twins for quantity takeoff, create accurate building plans, and with facility management.

Follow us on social media